Category Archives: Customer Review

image_pdfimage_print
19Nov/19

Customer Review on Pumpkin AA0412B 10.1″ Octa-Core Android 9.0 Infotainment System

It's only fair to share...Share on FacebookShare on LinkedInPin on PinterestShare on RedditShare on TumblrShare on StumbleUponDigg thisShare on VK

I have a new Pumpkin car stereo and I am impressed so far.

The unit is one of the first Android car units, which matches the European 2-DIN size without the need to rework anything.
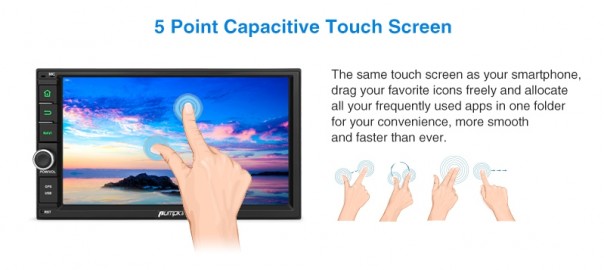
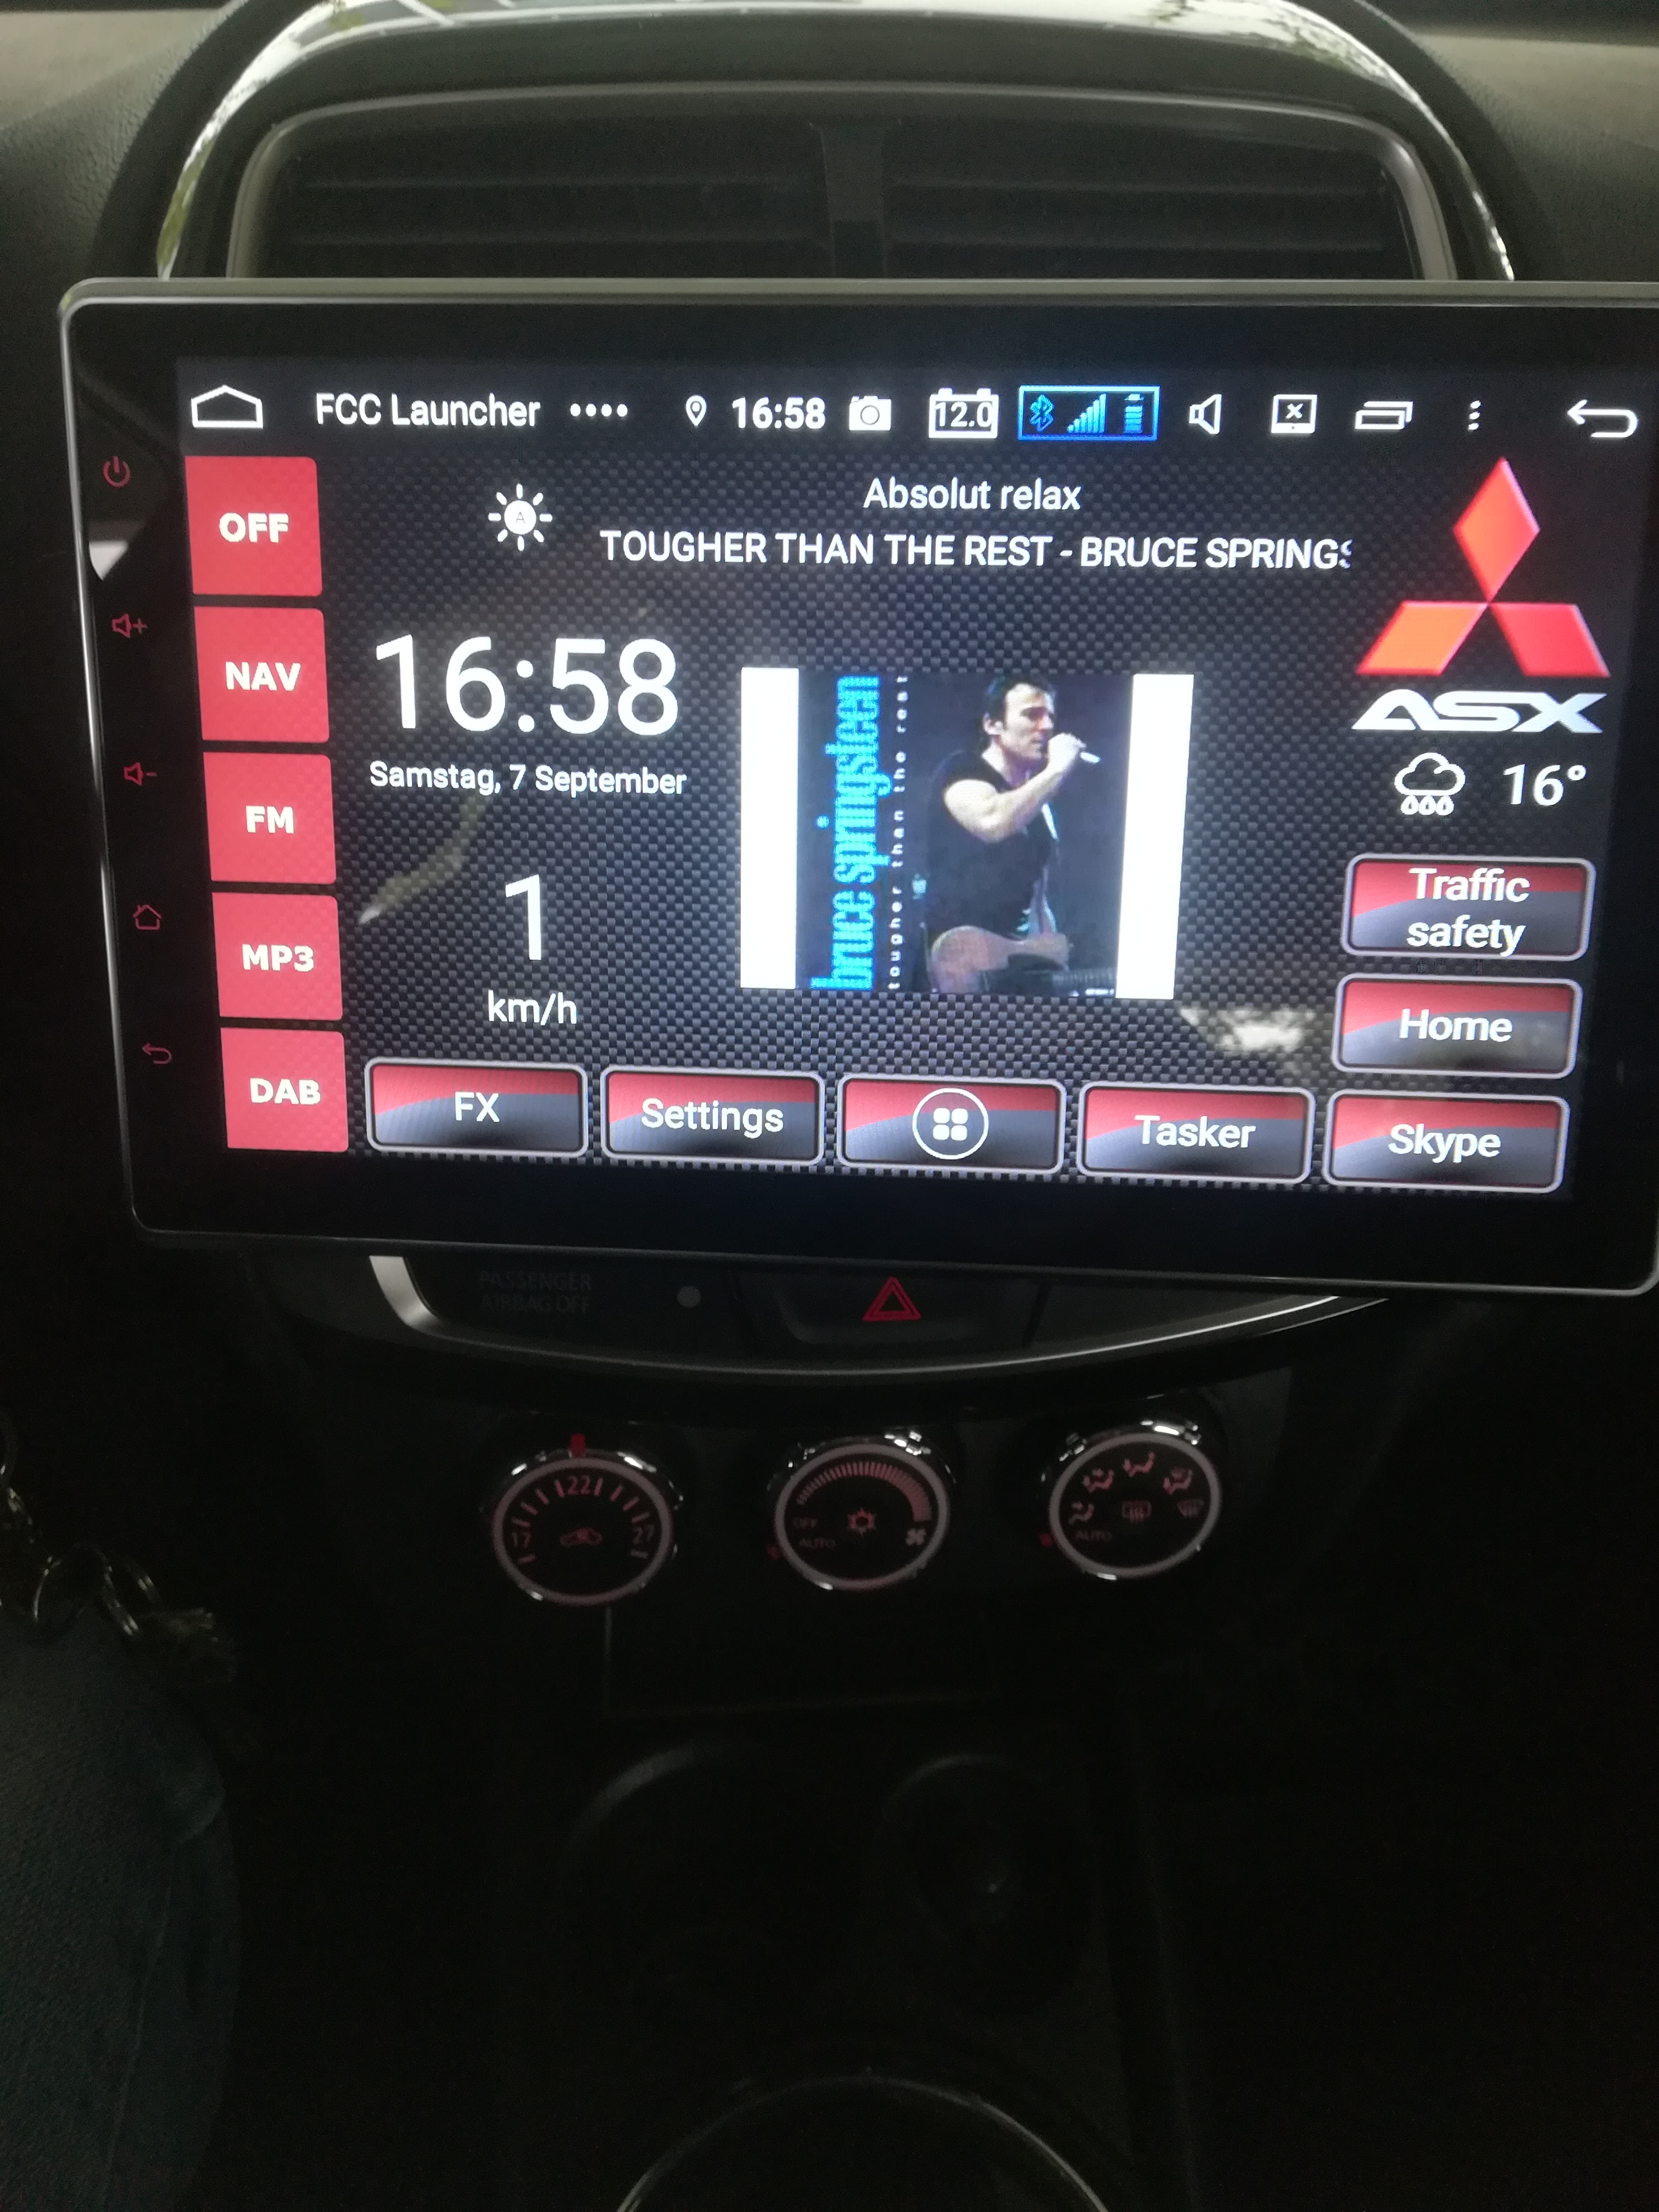
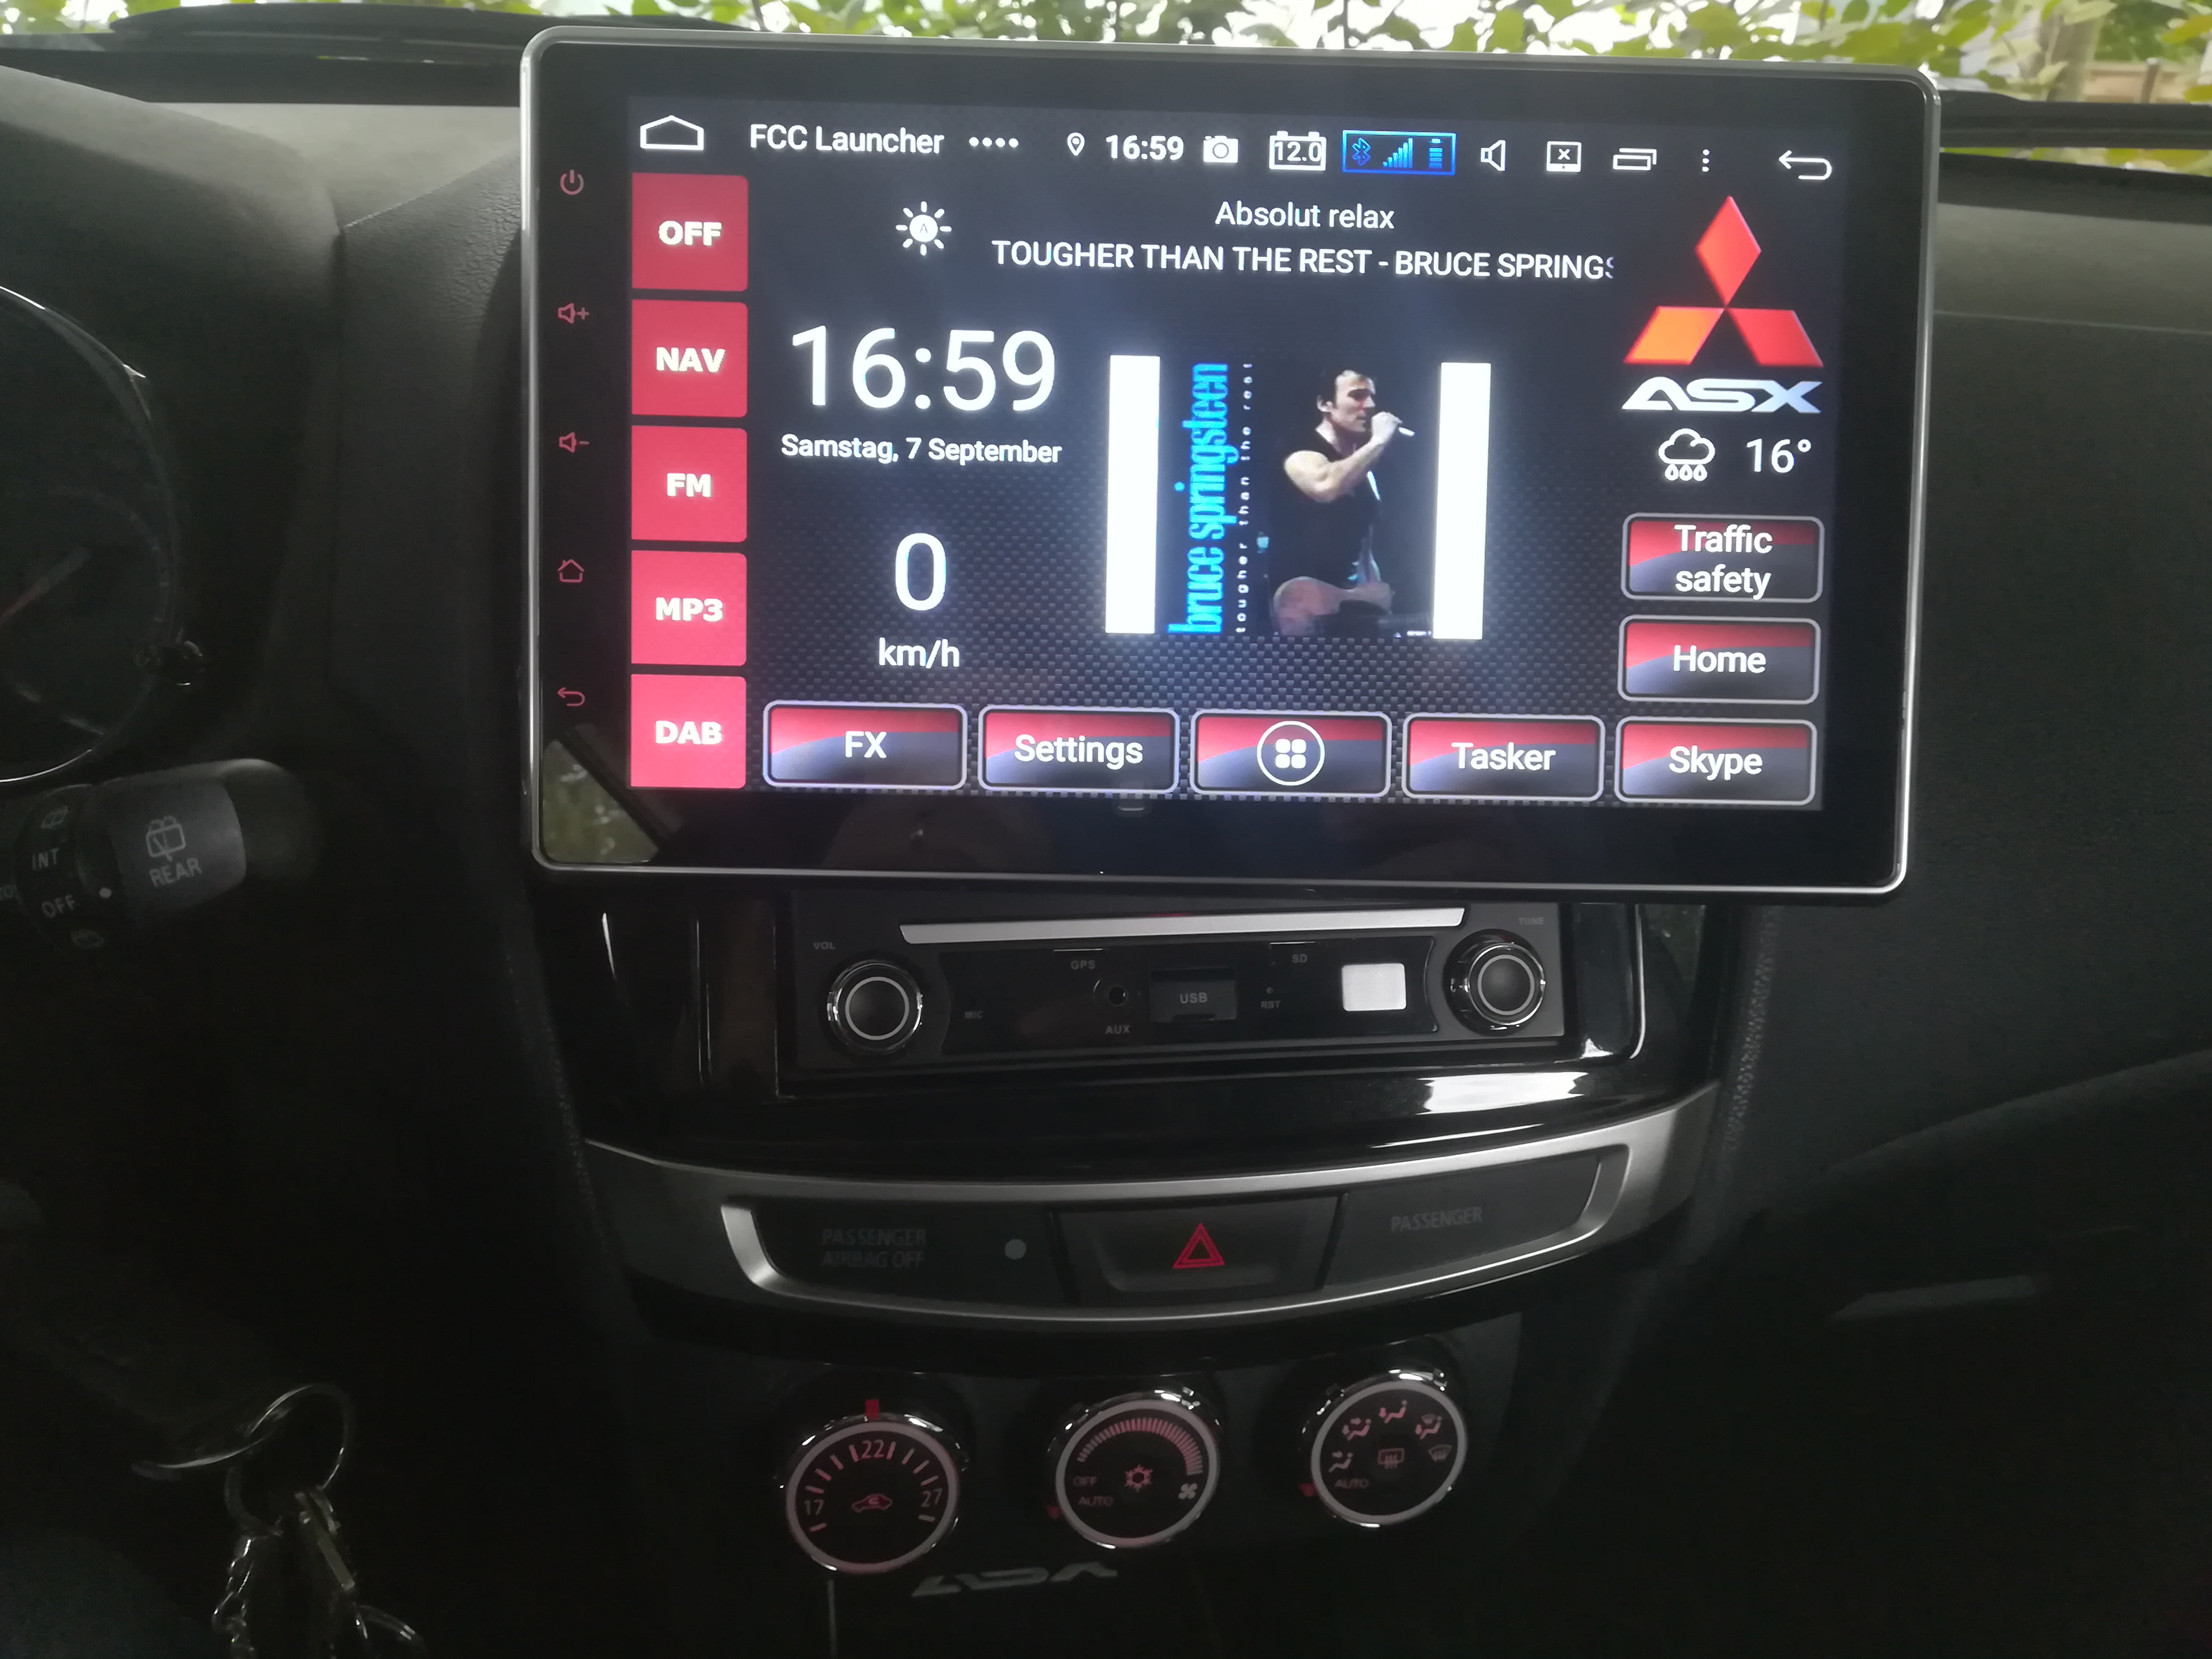
The screen is bright and easy to get it into the right position, the screen mount is really stable and no flutter on bad roads.

The first impression of my new Pumpkin 10.2″ unit AA04121B-D01

Since the weekend I have the new pumpkin here and have it extensively tested on the power supply before I installed it in the car yesterday.

Scope of delivery:

  • 2 DIN Unit
  • 10.1 inch glossy screen, with metal frame
  • Cable set with 2 USB ports
  • User manual English/German

Hardware:

  • PX5
  • 64-bit 8-Core Cortex-A53 1.5GHz
  • Android 9, build number 201907251651
  • MCU: CSN2_06252ß19_163051 (Despite this MCU the device is obviously a KLYDE device)

First impression
I must say, the first impression is very good.
The first start was done after about 20 seconds.
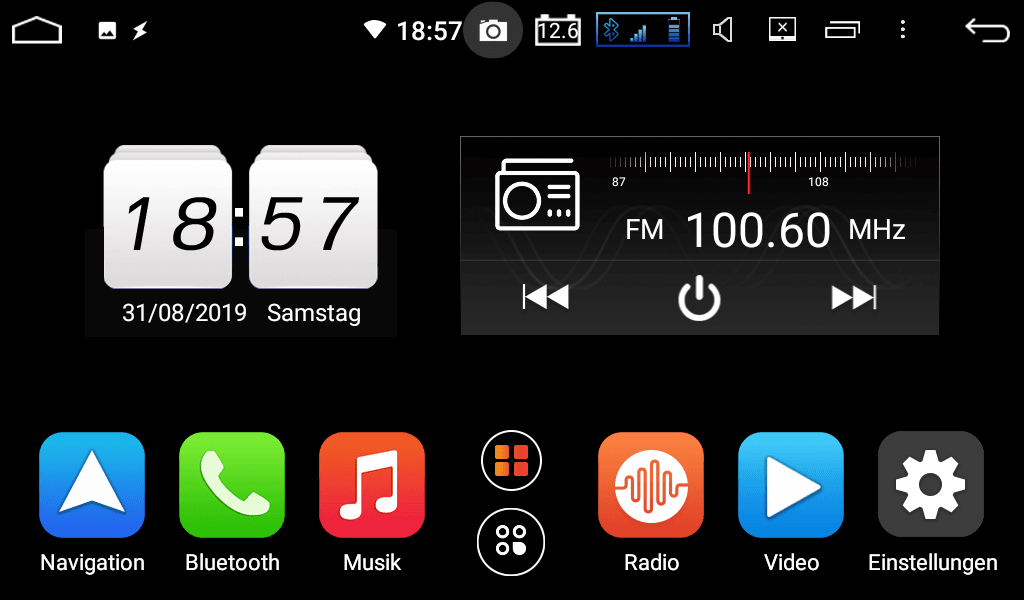
The original launcher is as usual from Pumpkin, as well as the apps included.

What’s new:

  1. Additional USB on the front panel
  2. 2 micro SD trays on the front panel
  3. Volume control knob (illuminated)
  4. Knob for App switching (illuminated)
  5. App called “Tachograph,” a new app for the Dashcam.
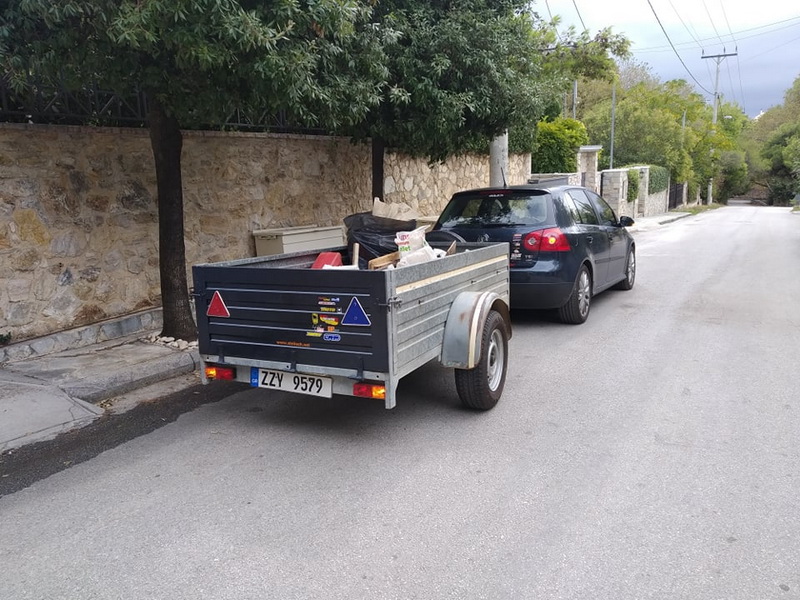
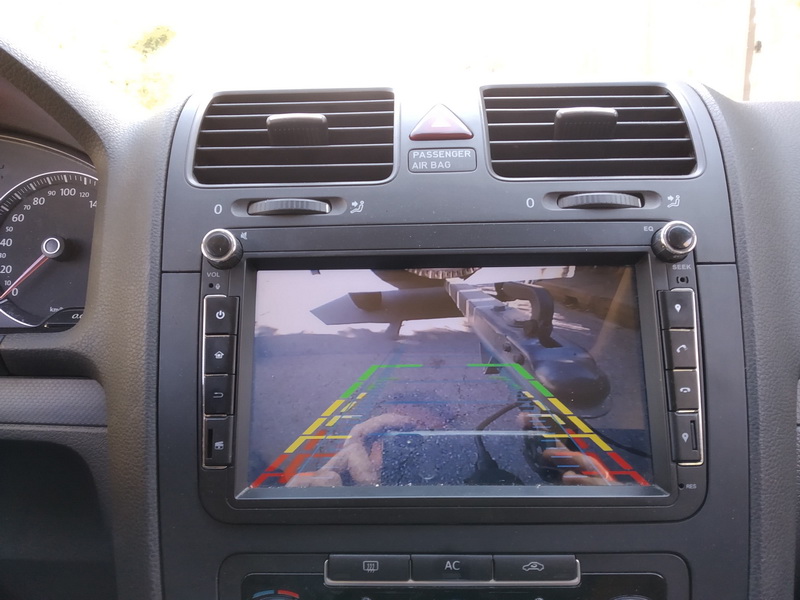
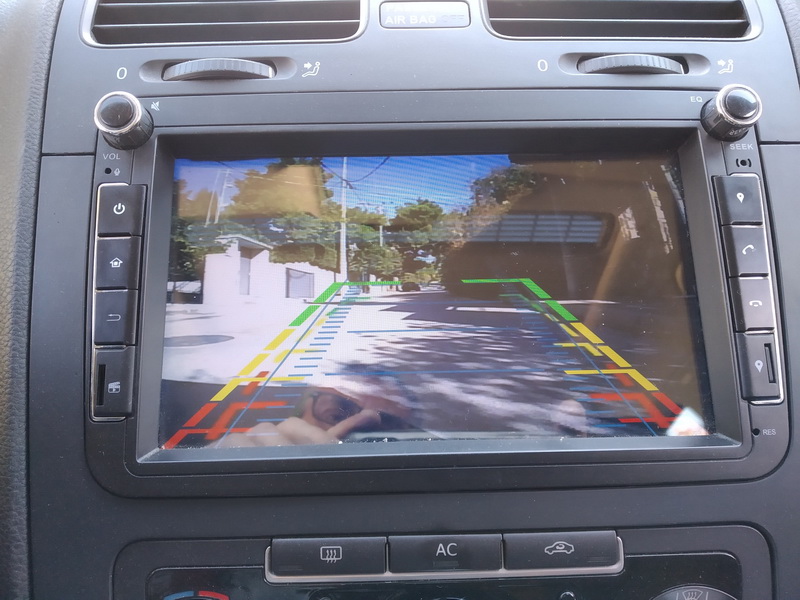
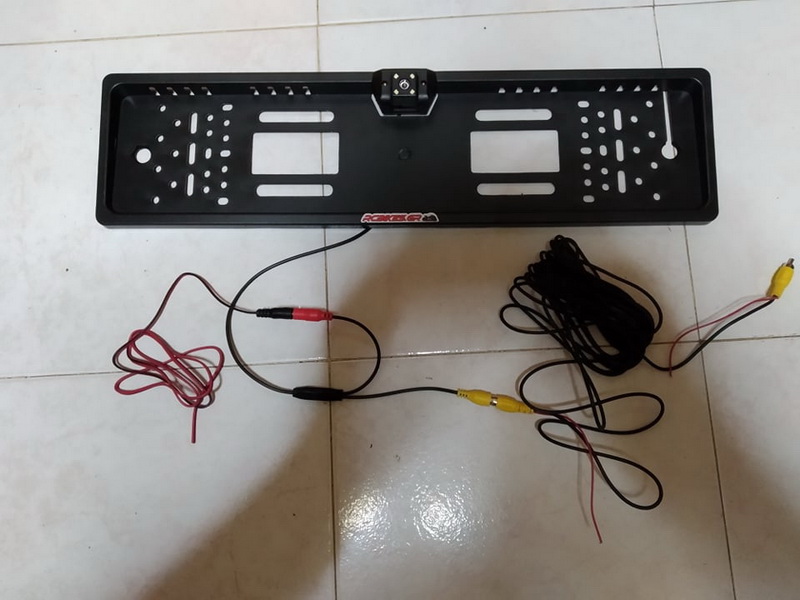
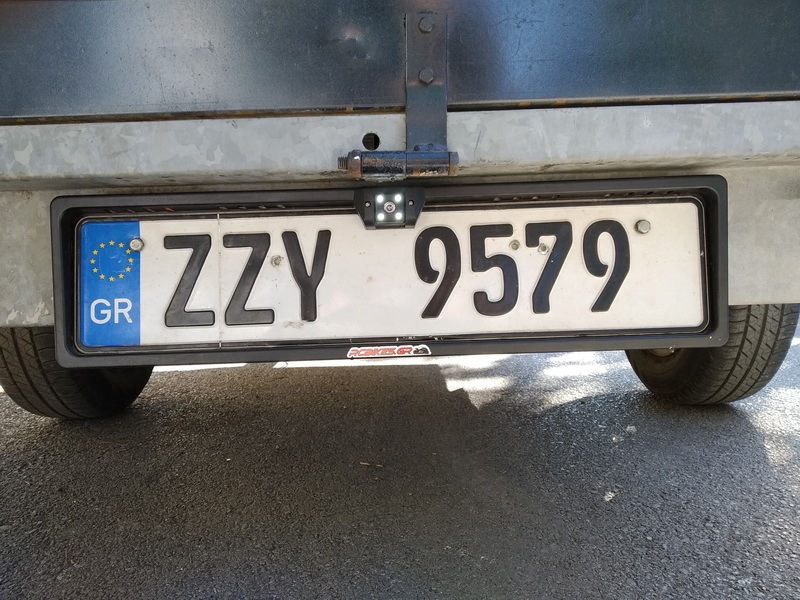
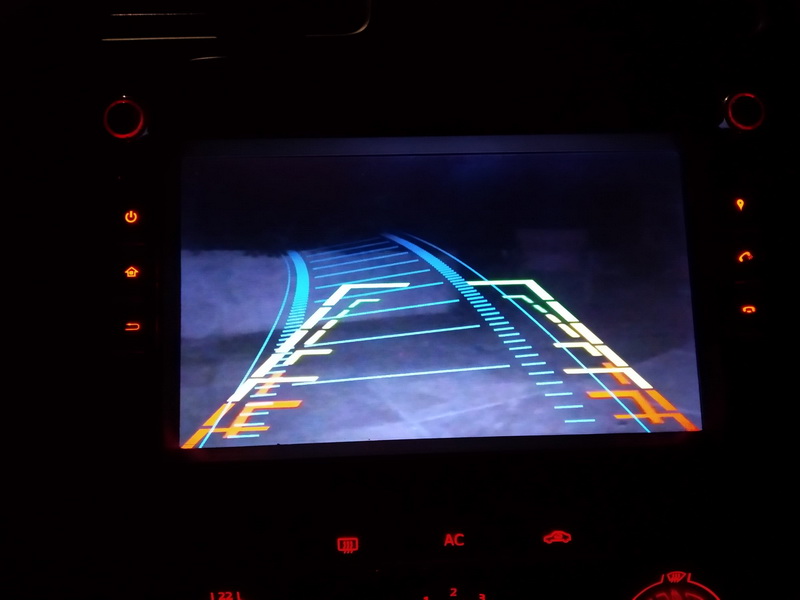
  6. Caravan, an app that supports rear view camera and front camera and you can switch between both cams.
  7. Sync (I don’t know what it’s for yet)
  8. CD player for external CD players
  9. An app called “Joykey Study” for certain OEM-Key-Pads, I have to do some research myself…
  10. VoiceControl App Looks like an app for Apple friends. The app doesn’t work for Android phones (at least not for mine).
  11. The Settings menu was cleaned up, also the menu for the “factory settings”. Here you don’t find the strange menu anymore, but it’s neatly arranged. Unfortunately not in German, but I think you can live with that. The PIN for the factory settings is still 126.
  12. Display of the battery voltage in the status bar is now possible in the “Personal settings”.
  13. Also, the settings of the phone can be displayed now. Here you can see the field strength and the battery status at the top of the status bar.

The radio runs very smooth and I was able to install all my needed apps without any problems. Root was possible with the known method without any problems.

The screen is connected to the radio with a flat cable plug, just slide it in and click to fix.
You can turn the screen with a little effort in all directions, but the mounting makes a very stable impression. There is also no clattering.

First Tests:
The working temperature is important to me. With active route guidance, DAB+ active in the background, Blitzer.de active, the temperature stays below 60°C… and that without any additional actions such as heat sink installation and fan.

The last 2 weeks on the road in the day and night mode have been as expected. No real bugs were visible.
One thing that needs to be said: If you switch the screen in night mode to the darkest possible brightness, you will find out that the backlight is a bit flickering. This is no big deal, just move the slider one step up. The brightness is the same but without flickering.
Experienced users are able to root the device and afterward to enable the developer menu.

Followed by is the original article.

Pumpkin AA0412B Android 9.0 universal head unit

Seit dem Wochenende habe ich das neue Pumpkin hier und habe es erst einmal ausgiebig am Netzteil getestet, bevor ich das gestern im Auto eingebaut habe. Einen Bericht über meine Testfahrt folgt…

Link zum Radio: Pumpkin Android 9.0 10.1 Zoll Universal Autoradio Radio IC TEF6686 Octa Core 4+32G Doppelt Din mit GPS Navi

Daten:

  • Lieferumfang:
    • 2-DIN-Unit
    • 10,1 Zoll Bildschirm glänzend, mit Metall-Rahmen
    • Kabelsatz mit 2 USB-Anschlüssen
    • Bedienungsanleitung Englisch/Deutsch
  • PX5
  • 64-Bit 8-Core Cortex-A53 1,5GHz
  • Android 9, Build-Nummer 201907251651
  • MCU: CSN2_06252ß19_163051 (Trotz dieser MCU ist das Gerät offensichtlich ein KLYDE Gerät)

Hier noch einmal der Hinweis auf die MCU:
Es handelt sich um ein PX5, allerdings mit einem neueren Mainboard. Die CSN2-Geräte sind nicht firmware-kompatibel zu den gekannten PX5-Boards, somit entfallen derzeit Custom-Roms.

Erster Eindruck:
Ich muss sagen, der erste Eindruck ist sehr gut.
Der erste Aufstart war nach ca. 20 Sekunden erledigt.
Der Original-Launcher ist wie gewohnt von Pumpkin, ebenso die mitgelieferten Apps.

Was ist neu:

  1. Zusätzlicher USB an der Frontblende
  2. 2 Mikro-SD-Einschübe an der Front
  3. Drehregler für die Lautstärke (beleuchtet)
  4. Drehregler für App-Umschaltung (beleuchtet)
  5. App namens “Fahrtenschreiber”, eine neue App für die Dashcam.
  6. Caravan, eine App, die Rückfahr-Kamera und Frontkamera unterstützt und man zwischen beiden Cams umschalten kann.
  7. Sync (da weiß ich noch nicht, wofür die da ist)
  8. CD-Player für externe CD-Player
  9. Eine App namens “Joykey Study” für bestimmte OEM-Key-Pads, da muss ich selber noch forschen…
  10. VoiceControl App Sieht mir nach einer App für die Freunde des Apple aus. Für Android-Phones (jedenfalls für meins) funktioniert die App nicht.
  11. Das Settings-Menü wurde aufgeräumt, ebenfalls das Menü für die “Werkseinstellungen”. Hier gibt es nicht mehr das seltsame Menü, sondern sauber gegliedert. Leider nicht auf Deutsch, aber ich denke damit kann man leben.
  12. Anzeige der Batteriespannung in der Statusbar ist jetzt in den “Persönlichen Einstellungen” möglich.
  13. Außerdem werden jetzt auch auf Wunsch die Einstellungen vom Telefon angezeigt. Hier sieht man dann die Feldstärke und den Akkuzustand oben in der Statusbar.

Das Radio läuft schon mal sehr flüssig und ich habe alle meine benötigten Apps problemlos installieren können, Root war mit der bekannten Methode über ADB problemlos machbar.

sdr

Der Bildschirm wird mittels Flachkabel-Stecker am Radio angeschlossen, einfach nur drauf geschoben und rastet ein.
Man kann den Bildschirm mit ein wenig Kraftaufwand in allen Richtungen drehen, dabei macht die Halterung einen sehr stabilen Eindruck. Da rappelt auch nichts.

Erste Tests:

  • Wichtig für mich ist die Arbeitstemperatur. Mit aktiver Routenführung, DAB+ im Hintergrund aktiv, Blitzer.de aktiv, bleibt die Temp unter 60°C… und das ohne irgendwelche Maßnahmen, wie Kühlermontage und Ventilator.
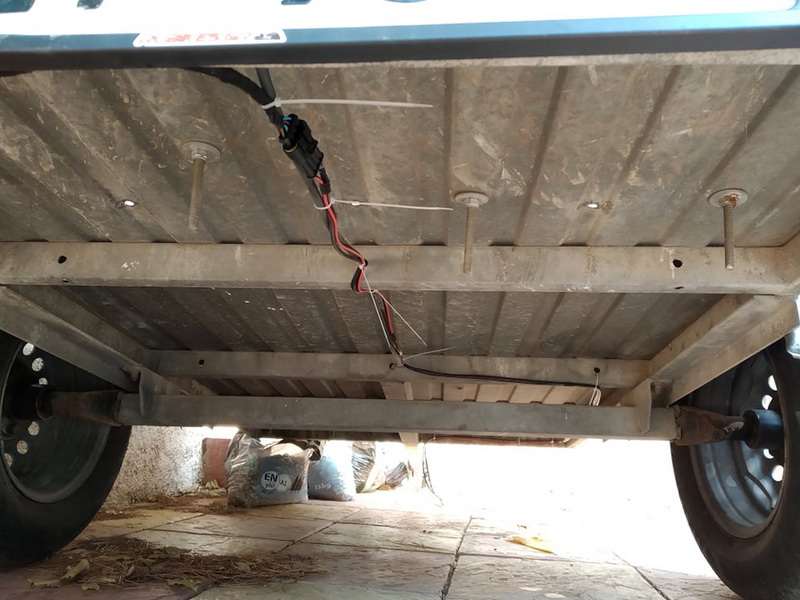
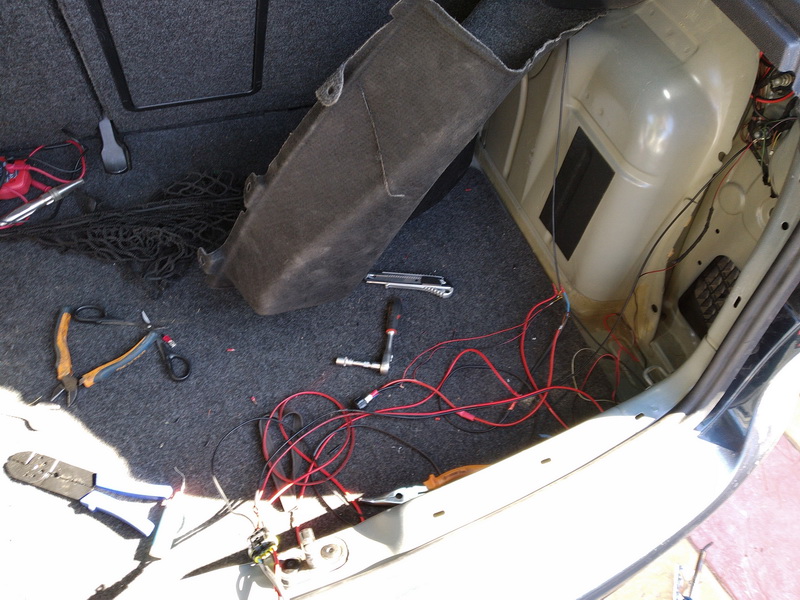
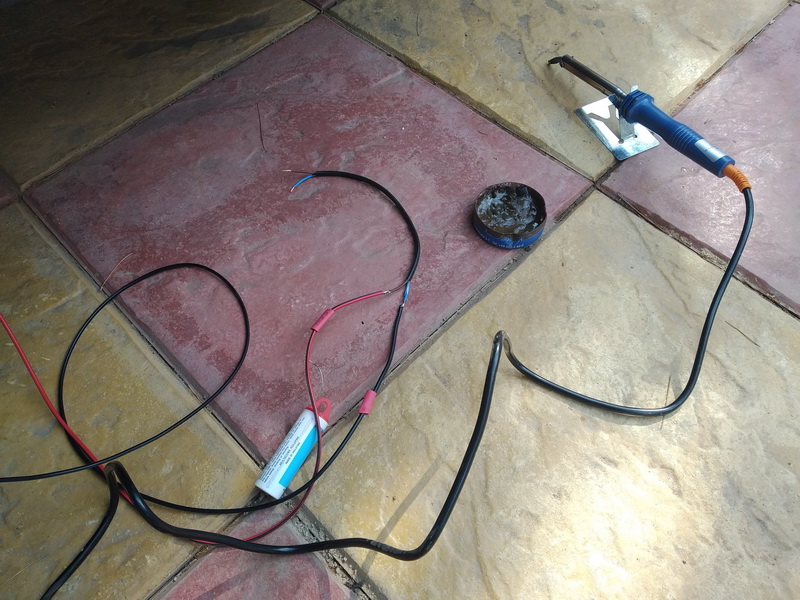
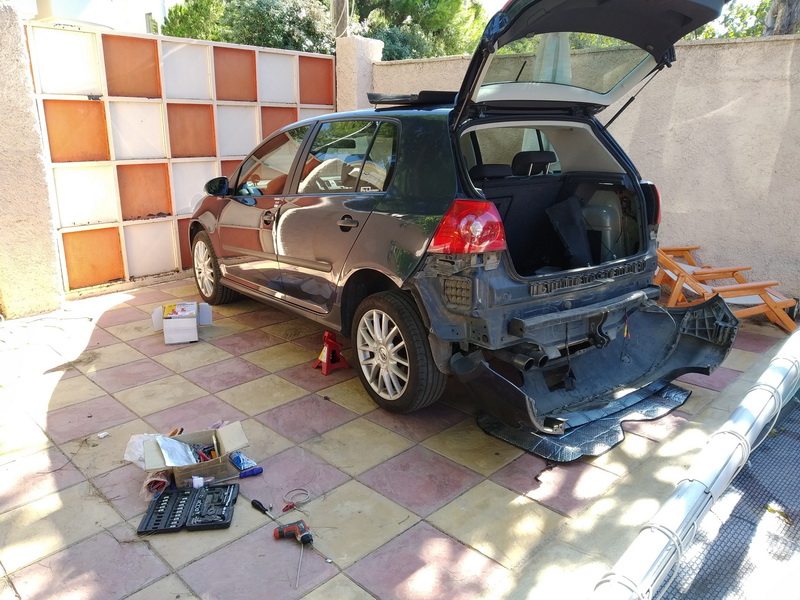
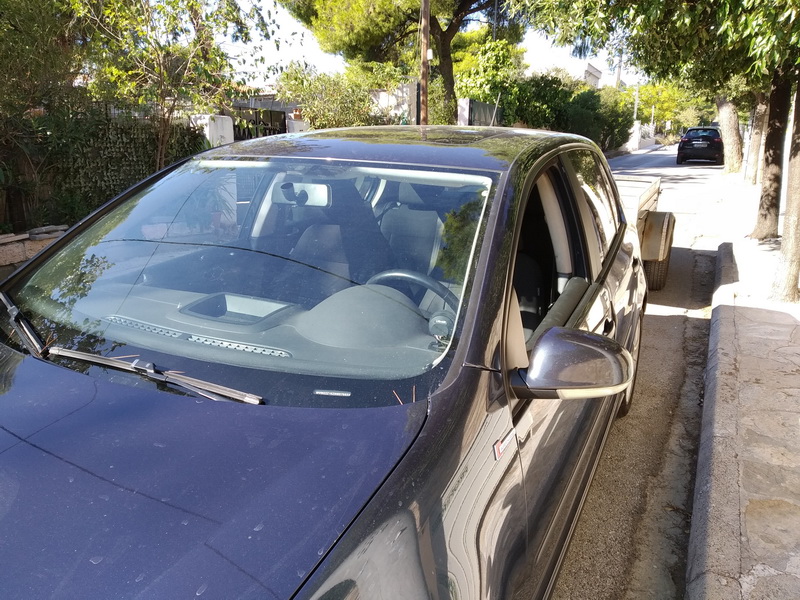
  • Gestern habe ich das Radio dann mal eingebaut. Als Erstes fiel mir auf, dass Pumpkin sich bei diesem Radio endlich mal an die in EUR üblichen Einbaumaße hält. Meine bisherigen Radios benötigten immer Nacharbeit am Einbaurahmen. Ein neuer Rahmen ist somit fällig, weil der vorhandene Rahmen zu groß nachgearbeitet wurde.

Verbesserungspotential:

  • Entwicklermenü ist Passwort geschützt. Das PW hat wohl nicht einmal Pumpkin. Es sei geheim….Aber ich bin dran. ;)
  • Das neue Android 9 Design von Pumpkin ist derzeit noch in der Mache. Bin mal gespannt, wann das kommt. Da zeige ich demnächst mal ein paar Bilder zu. Das sieht sehr schick aus.
  • An meinem Auto funktionieren die Telefon-Tasten gerade nicht, sie werden von der App nicht erkannt. Ich musste also meine Spracheingabe-Taste umfunktionieren, dass ich über das Lenkrad einen Anruf annehmen und auflegen kann (Doppelbelegung der Tasten geht über long click)

Kaufempfehlung

  • Für alle User, die gerne einen großen Screen haben wollen, mit einer stabilen Firmware –> ein uneingeschränktes JA
  • Für alle User, die lieber ihr Gerät über einen guten Launcher statt überladener Custom-Roms personalisieren wollen –> uneingeschränktes JA
www.pdf24.org    Send article as PDF   
30Oct/19

[Customer Review for Pumpkin] Golf Android car stereo with rear camera

It's only fair to share...Share on FacebookShare on LinkedInPin on PinterestShare on RedditShare on TumblrShare on StumbleUponDigg thisShare on VK

I am quite often adding a trailer to my MK5 VW Golf. I have installed the Pumpkin radio in my car and also a rearview camera that works successfully. I have also added a front camera on the front grille VW emblem which works with the AVIN app (no recording of course).

72268856_550981815675068_5395813752366956544_n

So I want to mount another RVC on the back of my trailer so that it makes it easier for me to park it when backing into somehow narrow spaces.

Therefore, I am thinking is there a way to alternate the RVC viewing from car bumper to trailer, when the trailer is hitched? Or maybe I should install some kind of switch to alternate the views? Is it possible to have a split-screen with both cameras?

Well… I did it! I mounted a second camera on the back of the trailer!

74238379_2387815304673849_8239863812136632320_n

The trailer complete with the camera. It is located on the license plate border.


Image

What the car camera shows when the trailer is attached.

Image

What the trailer camera shows!

The specific implementation steps are written in Greek.

Πρακτικά, έχω ένα θεματάκι, όταν κάνω όπισθεν στο δρόμο, με το αυτοκίνητο κάθετα στη γκαραζόπορτα, να “σημαδέψω” με σχετική ακρίβεια την πόρτα. Τις περισσότερες φορές, μια και το τρέιλερ “διπλώνει” πολύ εύκολα, για να ξεκινήσει την είσοδο (με την όπισθεν πάντα) στο γκαράζ, τυχαίνει να μην ξέρω με σχετική ακρίβεια αν όντως έχω “σημαδέψει” σωστά την είσοδο… Μερικές φορές, βγαίνω, κοιτάω που πάει, και συνεχίζω.
Με την κάμερα, αυτό το… γλιτώνω!

Απ’ την άλλη έπρεπε να κάνω τις συνδέσεις τρέιλερ και αυτοκινήτου αδιάβροχες. Αυτό ήταν το πρόβλημα 2. Το πρόβλημα 3 ήταν η σωστή σύνδεση των ηλεκτρικών της κάμερας του τρέιλερ με την κάμερα του αυτοκινήτου και το 4ο πρόβλημα να βρούμε ένα διακόπτη που να εναλλάσσει τις κάμερες στο ραδιόφωνο!

Μια χαρά!

Κάμερα κατ’ αρχήν! Αγοράστηκε απο μαγαζί στην Λεωφόρο Αθηνών 46, προς 11 ευρώ!


Κομπλέ με καλωδιώσεις, καθώς και ρύθμιση ύψους.


Οι καλωδιώσεις κόπηκαν πάραυτα!

Επεσε… μοντελισμός!

Ξέρουμε ότι η κάμερα έχει 4 καλώδια. Δύο για ρεύμα και δύο για video. Εκανα ένα σχέδιο για να θυμάμαι που βαδίζω. Ευτυχώς οι φίσες έχουν αρίθμηση στα πιν!


Πήρα από το Βενιέρη 2 τέτοια σετ, φούλ αδιάβροχες φίσες τετράπινες!

Βρήκα και οδηγίες (στο site του Βενιέρη!)


Πήρα και μια ειδική πένσα ηλεκτρολόγου, και ένα σετάκι βύσματα… Ποτέ δεν ξέρεις! (Χρειάστηκα μερικά!). Α… πήρα και ένα διακόπτη ΟΝ-ΟΝ δύο θέσεων. Θα τα πούμε πιο κάτω για δαύτον!

Ετοίμασα μια καλωδίωση για το τρέιλερ…


Μπήκε η βάση πινακίδας με την κάμερα πάνω στο τρέιλερ…


Πέρασαν τα καλώδια απο κάτω… (ναι, ξέχασα να κόψω τα ζιπάκια!)


Η κάμερα έτοιμη!


Πάμε στο αμάξι! Βρίσκω τις καλωδιώσεις της κάμερας του αυτοκινήτου.

Ενα περίεργο πράμα εδώ. Βρίσκω το αρνητικό ρεύμα της κάμερας. Αρχικά είχα σκεφτεί να βάλω στο διακόπτη το (-) του ρεύματος της κάμερας…
Πάει σε μια γείωση στο σασί, στο εσωτερικό του πίσω δεξιού φτερού. Την κόβω για να ματίσω και να στείλω στο διακόπτη. Δοκιμή… και η κάμερα ΠΑΙΖΕΙ με κομμένο το καλώδιο (-) του ρεύματος! Τι στο καλό;
Πολύμετρο και αρχίζω να ψάχνω να δω που έχουμε “βραχυκύκλωμα”! Λοιπόν… και οι 2 κάμερες, παρότι έχουν καλώδια ρεύματος (-) μαύρο και (+) κόκκινο, το (-) το ενώνουν με το (-) του Video (στο RCA)!!!
Οπότε, παρότι έχω φέρει μπορστά στο τρέιλερ 4 καλώδια, στην ουσία χρειάζομαι 3! (Παρόλα αυτά, το (-) του ρεύματος της κάμερας το έβαλα στη γειωση του αυτοκινήτου!).

Για να το ανακαλύψω…


…χρειάστηκε να βγει προφυλακτήρας, ώστε να χω πρόσβαση στα καλώδια της κάμερας του αυτοκινήτου.
Επ΄ευκαιρία… το χειρόφρενο πιάνει ΚΑΙ στους δύο πίσω τροχούς! Τους είχα στον αέρα και τους δυο, με τρίποδα σταθεράστηριγμένα από κάτω, με το κιβώτιο στο Ρ και το χειρόφρενο τραβηγμένο…
Ετσι είχα άπλετο χώρο να λύσω τις βίδες του προφυλακτήρα με ηλεκτρικό κατσαβίδι σε χρόνο dt!

Απαξ και κατανόησα πως παίζει…


Τρύπημα στο πλαστικό ψηλά, τοποθέτηση του διακόπτη, μάκρυμα μερικά καλώδια να φτάσουν μέχρι εκει…

Επεσε το σχετικό… βρισίδι! χεχε

Στην ουσία στο διακόπτη πέρασα το (+) του Video (από το RCA). Εκοψα το (+) του RCA και τα δύο κομμένα άκρα (με μάτισμα μάκρυνα τα καλώδια λίγο) τα έβαλα στις φίσες 1 και 2 του διακόπτη. Στη φίσα 3 του διακόπτη έβαλα το (+) του RCA της κάμερας του τρέιλερ.

Το (-) του ρέυματος της κάμερας του τρέιλερ πήγε στη γείωση του αυτοκινήτου.
Το (+) του ρεύματος της κάμερας του τρέιλερ πήγε στο (+) της κάμερας του αυτοκινήτου.
Το (-) του RCA της κάμερας του τρέιλερ πήγε στο (-) του RCA της κάμερας του αυτοκινήτου.
Το (+) του RCA της κάμερας του τρέιλερ πήγε στη φίσα 3 του διακόπτη, όπως είπα.

και το αποτέλεσμα:


αυτό… περισσεύει! Τι? Η αδιάβροχη φίσα! Οταν χρειαστεί, την κρεμάω απέξω… ΔΕΝ τσακίζουν τα καλώδια!


Κοτσάρουμε… βυσματώνουμε…


Γυρίζοντας το διακόπτη στην “πισω” κάμερα… τα λεντ ανάβουν! Καλό σημάδι!


Πάμε έξω στο δρόμο! Πρέπει να το πλύνω, ε;!!!


Ωπ! Σέλφι!

Τι βλέπει η κάμερα του αυτοκινήτου!

Τι βλέπει η κάμερα του τρέιλερ!

Γιατί ο διακόπτης στο πορτ μπαγκάζ?

Διότι η διαδικασία μου είναι ως εξής:
Βιδώνω κοτσαδόρο. (1 λεπτό, 2 βίδες)
Κοτσάρω τρέιλερ
Βυσματώνω τα ηλεκτρικά (φώτα) του τρέιλερ
Κουμπώνω τη φίσα της κάμερας
Αλλάζω θέση στο διακόπτη της κάμερας στο πορτ μπαγκάζ.
Την ανάποδη διαδικασία κάνω όταν γυρίσω στη βάση…

Συνολικό κόστος περίπου 20 ευρώ, συνυπολογίζοντας τις αδιάβροχες φίσες, το εργαλείο, την κάμερα στο πλαίσιο της πινακίδας, τα καλώδια κλπ


Και μια βραδινή λήψη!!!

www.pdf24.org    Send article as PDF   
01Aug/19
capacitive touch screen car stereo

A multi-touch capacitive touch screen infotainment saves my life

It's only fair to share...Share on FacebookShare on LinkedInPin on PinterestShare on RedditShare on TumblrShare on StumbleUponDigg thisShare on VK

The multi-touch capacitive touch screen is used in all the smart phones, we are so used to the convenience it brings, but when it turns into a car stereo system, the convenience is gone!

Luck us, there are some companies who do care about our needs (of course for their own survival). Anyway, with this function all the dragging process becomes fun. Personally, I couldn’t stop myself from organizing APPs into folders, and the scattered pieces of icons just drive me crazy, in this situation, a multiple touch capacitive touch screen really makes the whole work a lot easier.

One more thing hits my nerve in every driving because I need to use the Google map, but I like to zoom in to see the general direction I was about to go. My last car stereo didn’t have the muti-touch function, and my fat finger just always missed the tiny little ‘-’, now I don’t even want to recall those dark memories.

My new car radio is Pumpkin’s Android 8.0, no problem raised yet.

www.pdf24.org    Send article as PDF   
image_pdfimage_print