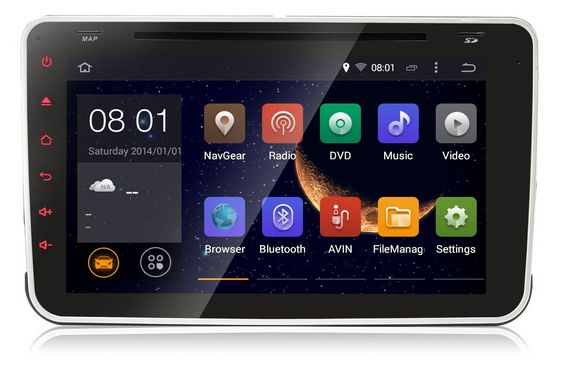
The blog written by a customer from Greece, he bought this vw radio from Germany store, install it in his own VW.
Blog source – http://steliosh.net/golf/radio/index.html (Greek), his website: http://steliosh.net/
We just translate the content completely.
Product SKU: AS0374B
Product Link:
USA Store: https://www.autopumpkin.com/pumpkin-android-7-1-car-stereo-radio-for-vw-seat-skoda-series-double-din-quad-core-8-inch-touchscreen.html
DE Store: https://www.autopumpkin.de/pumpkin-autoradio-android-7-1-fur-vw-seat-skoda-series-8-zoll-touchscreen-doppel-din-quad-core-unterstutzung-schnellen-boot.html
UK Store: https://www.autopumpkin.co.uk/pumpkin-android-7-1-car-stereo-radio-for-vw-seat-skoda-series-double-din-8-inch-touchscreen-quad-core.html
The blog translation:
ATTENTION!
That’s what I do here, I do it in my own car and at my own responsibility, that’s my car!
If you decide something similar and break / ruin / burn / break your car, it is your responsibility!
Clearly, therefore: WE DO NOT RESPOND FOR YOUR LOSS!
17.12.2018
The big decision was taken two months ago!
Android screen. And not only! There are agendas and filthy plans from behind! Besides the usability of using the phone via BT and music via BT and USB, it has more: After we also put a Scirocco dial (we searched it!) With a white screen, then … Optical Parking System, Park Assist (yes, to park it himself !!!) and others cheer! A … and reversing camera, of course!
So, in this way:
What we got in principle!
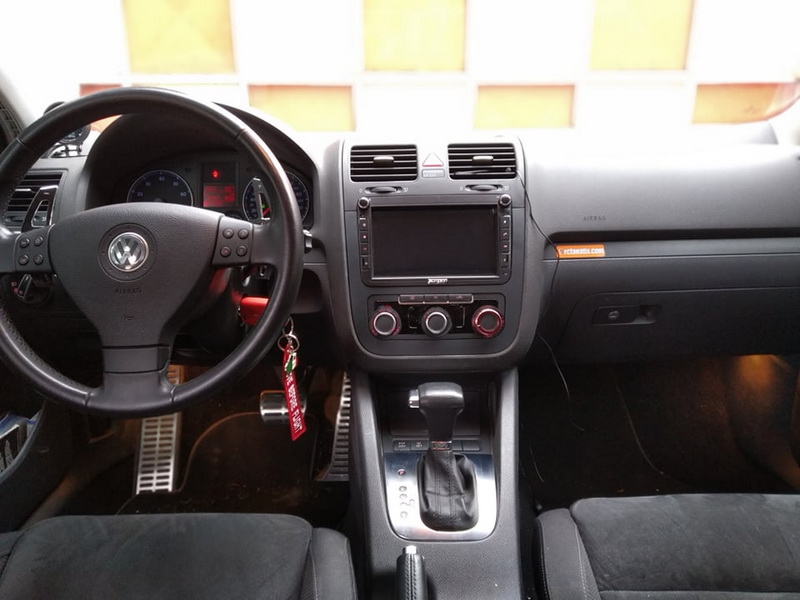
Here we spoiled the … surprise!
from the Chinese Autopumpkin, through the German warehouse, an Android 7.1.4 screen with all the goodies. GPS, BT, USB, etc. without customs clearance, delivery in 18 days … (10 euro postal, delivered by ELTA-Courier).
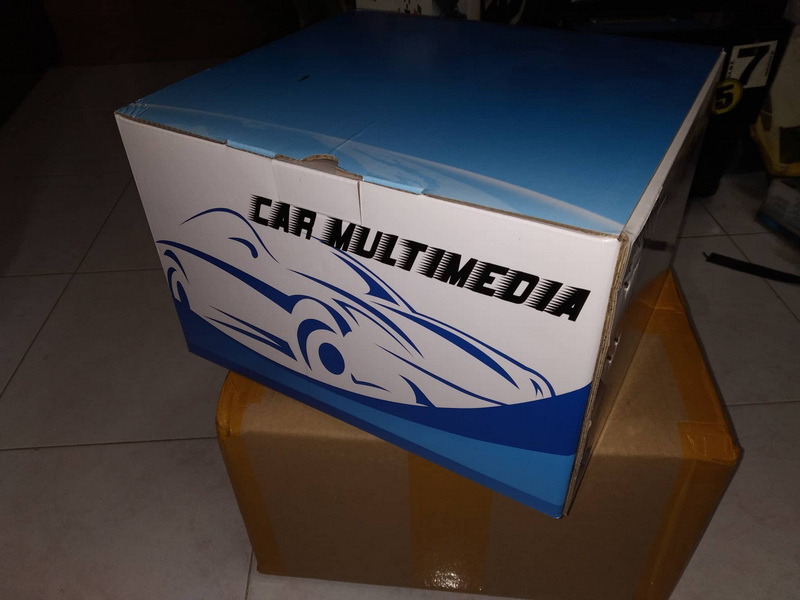
The box in the box. Excellent!
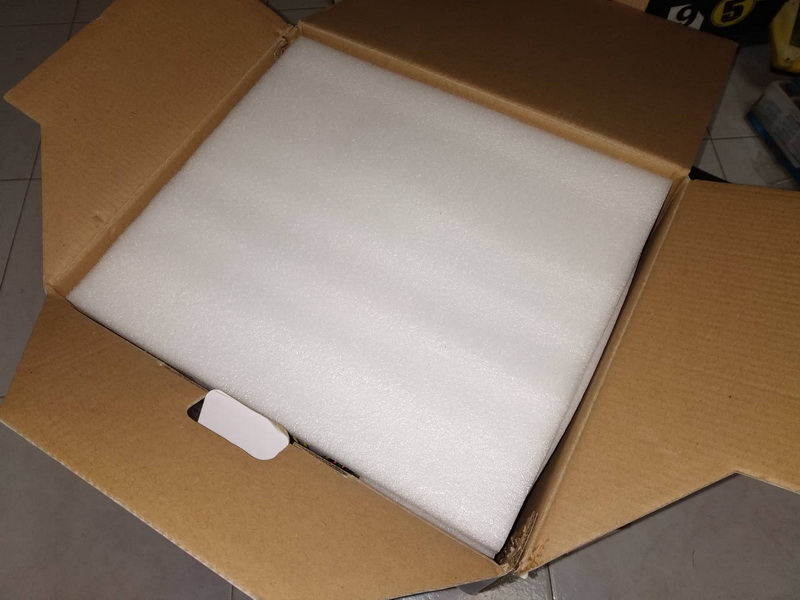
Well protected everything!
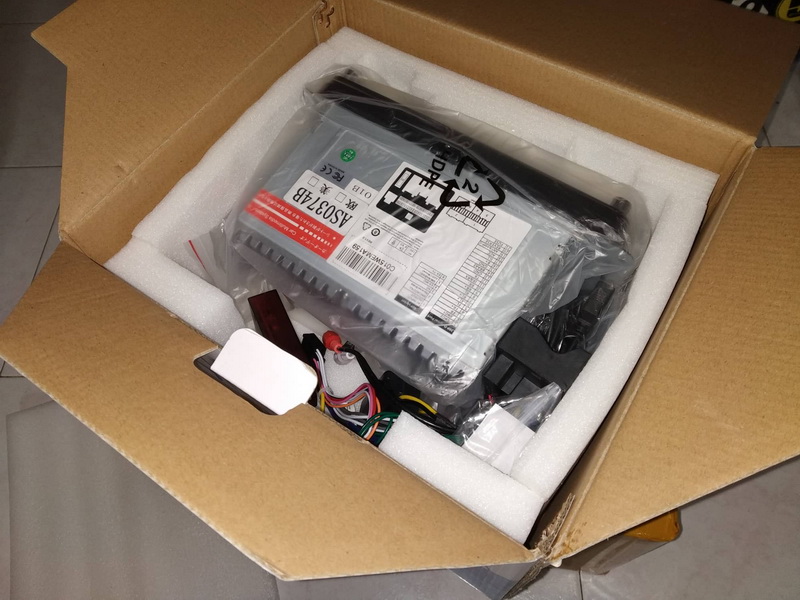
Contents!
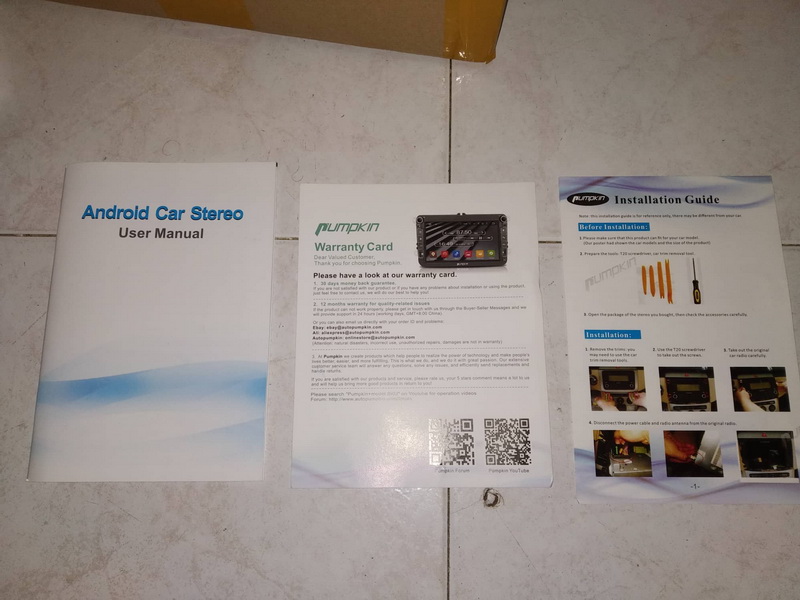
a manual, instructions (you are fuzzy, but we do not chew!).
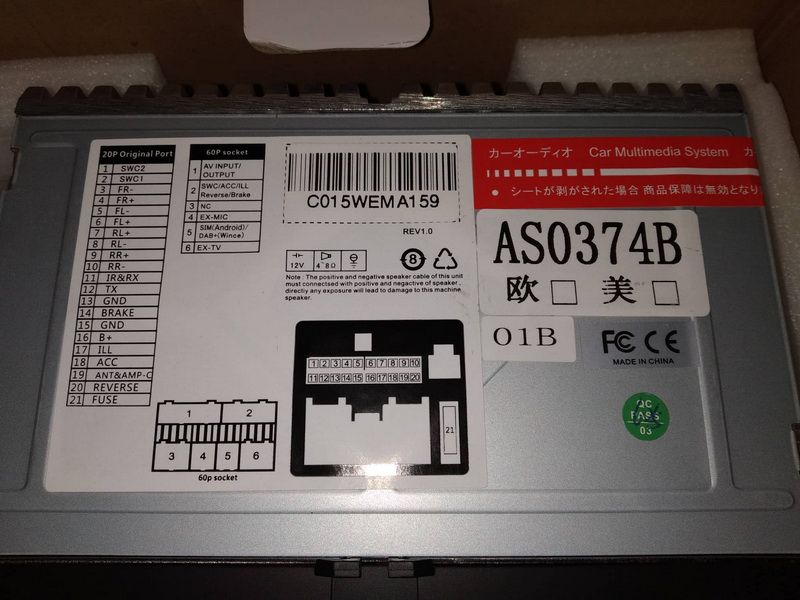
From above the screen …
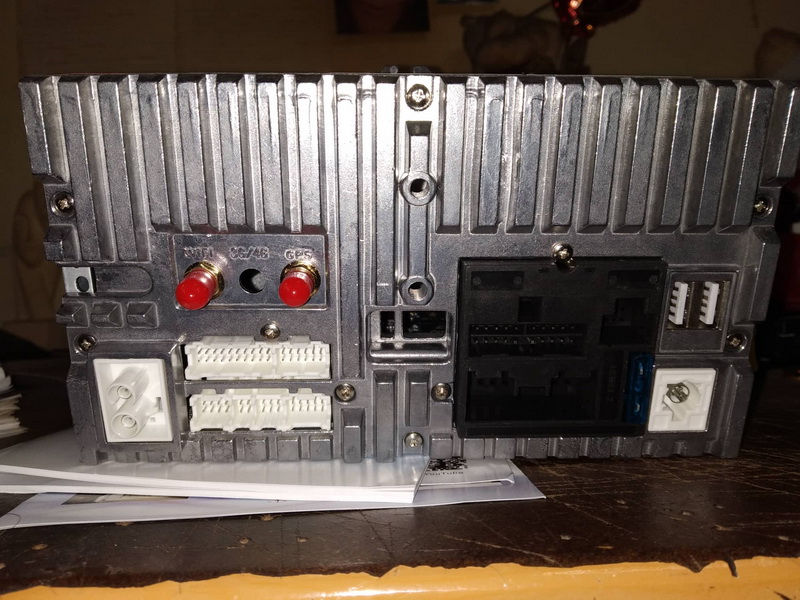
Links from behind.
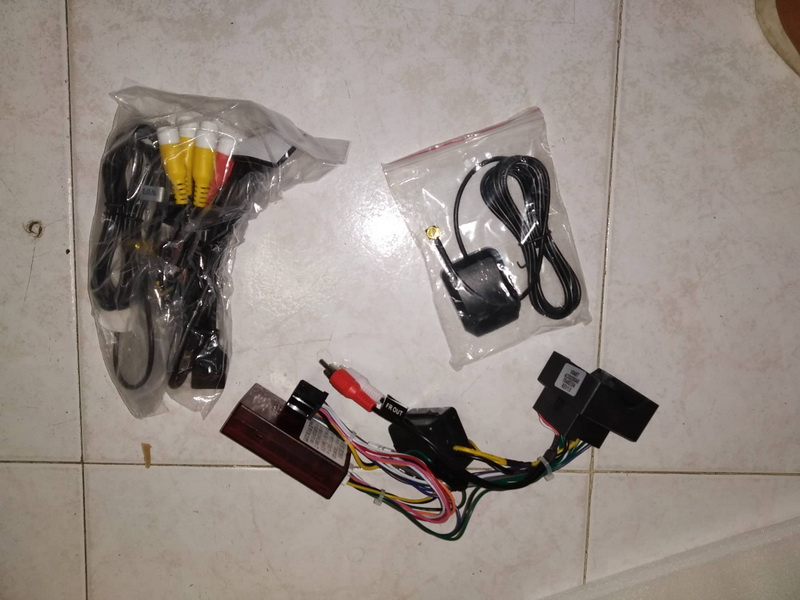
Complete wiring harnesses.
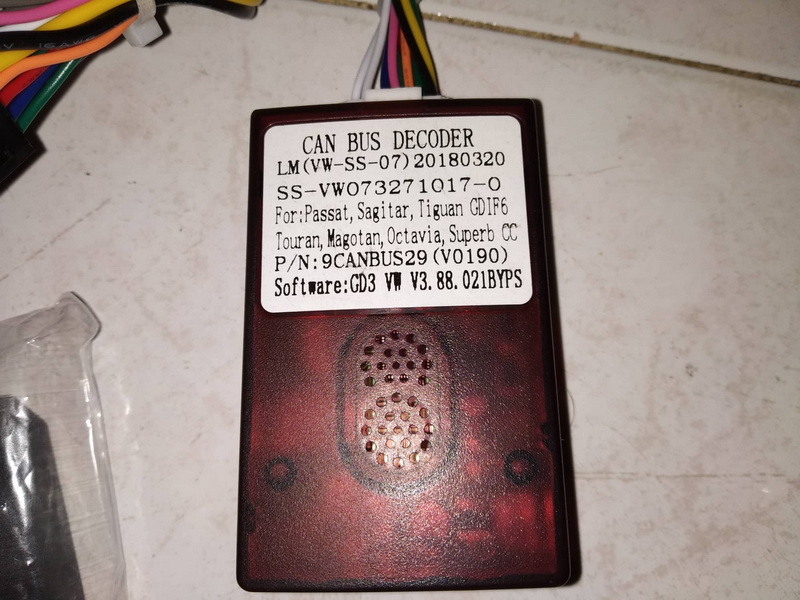
Can Bus Decoder, to prevent the battery from emptying. Though … in my case it was not necessary, I think, since I have a very new Can Gateway. However, why not!
An interesting correction, here by my friend Giannis D., which pointed out that the decoder does not only do this, but also converts all the communications between the car and the radio. And what are they? Handling from the buttons on the steering wheel, vehicle information (see Vehicle screen, below and others). And of course, it controls when “the key goes out of the machine” and turns off the device completely so it does not pull current (what I mentioned above as its only function).
So … We’re extinguishing the old RCD 300.
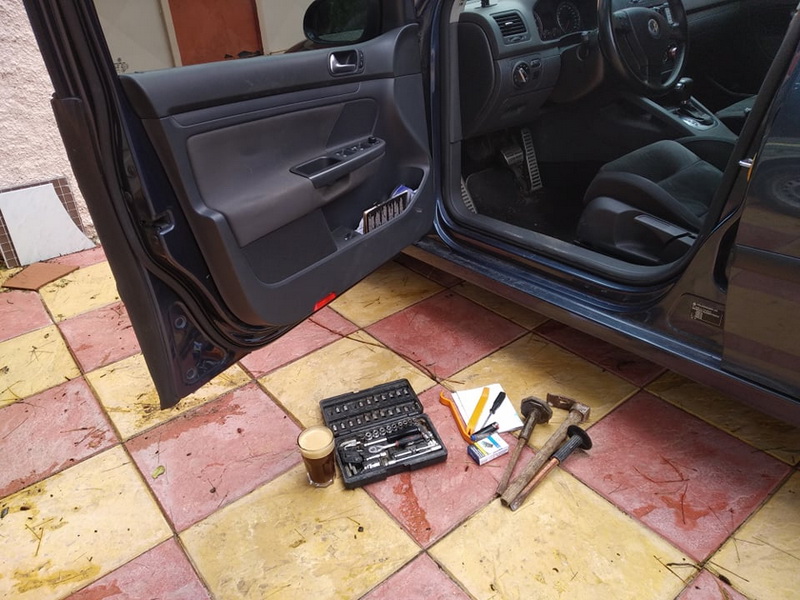
Meaning … with … hairstyle, cigarettes, the right tools …
We solve the 2 screws that hold the ashtray at the top …
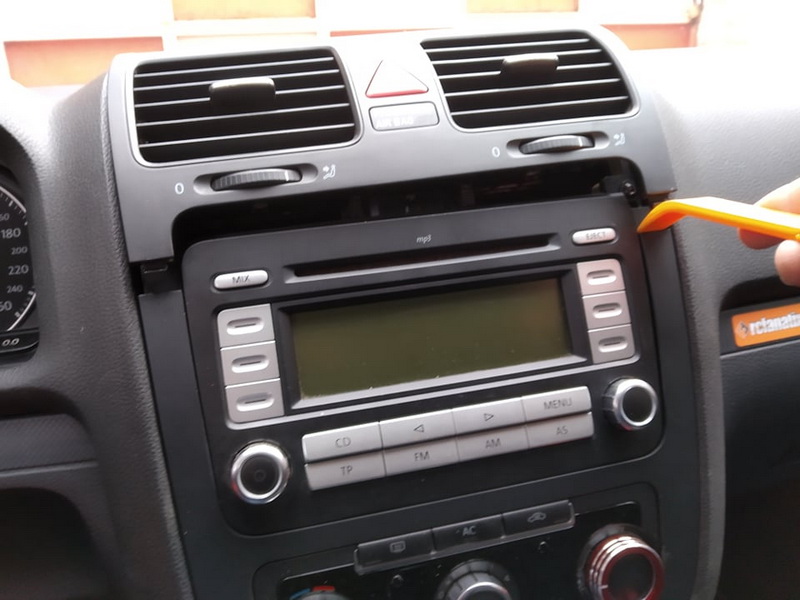
With a spatula we lift the air …
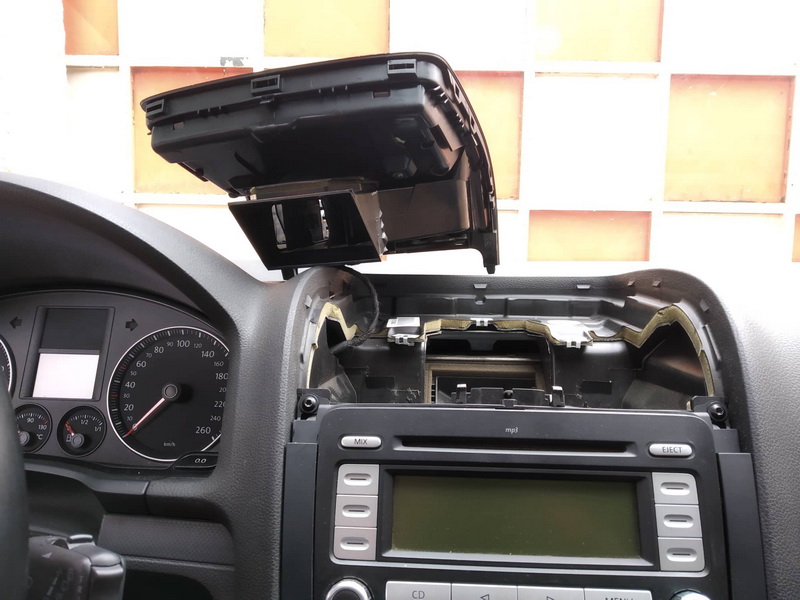
Leaving airways on their side …
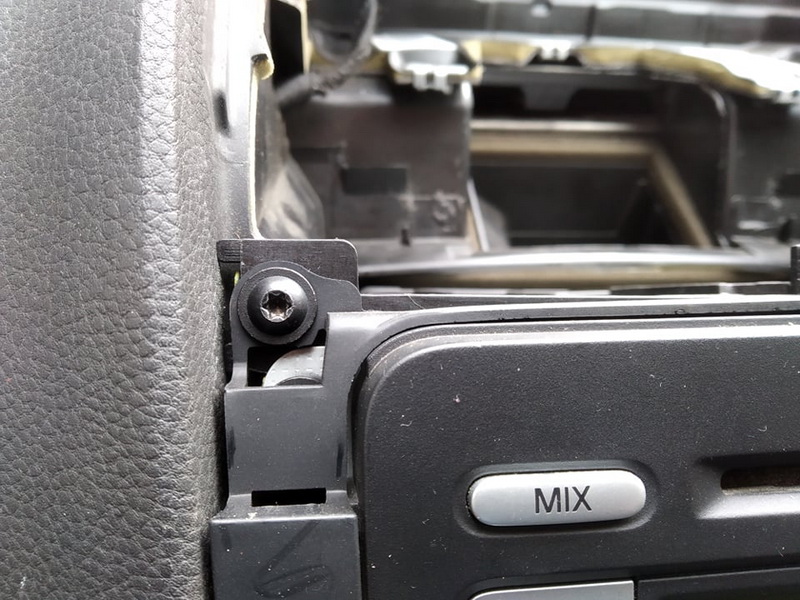
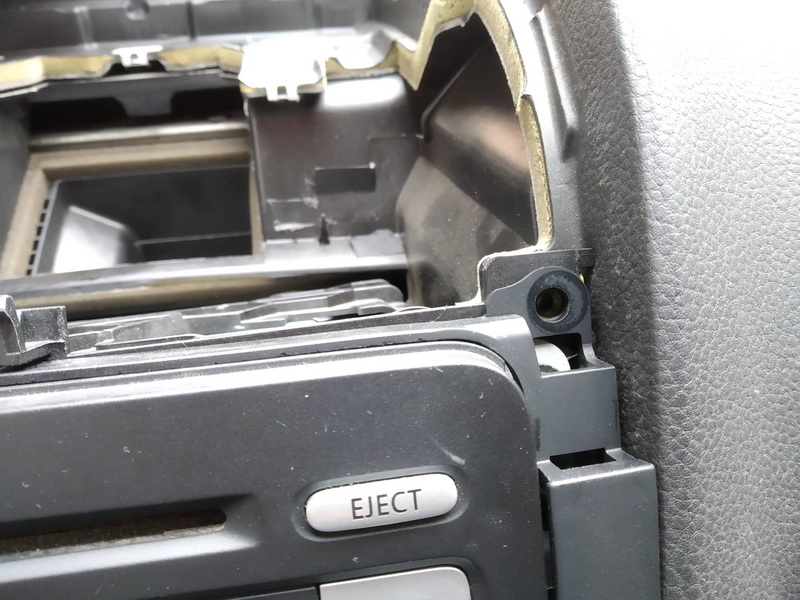
Take 2 Torx T20 screws and then carefully …
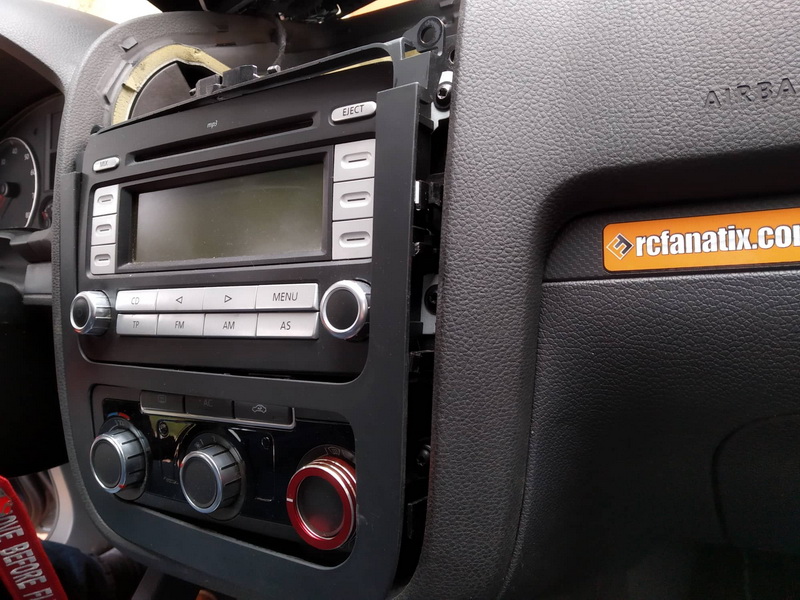
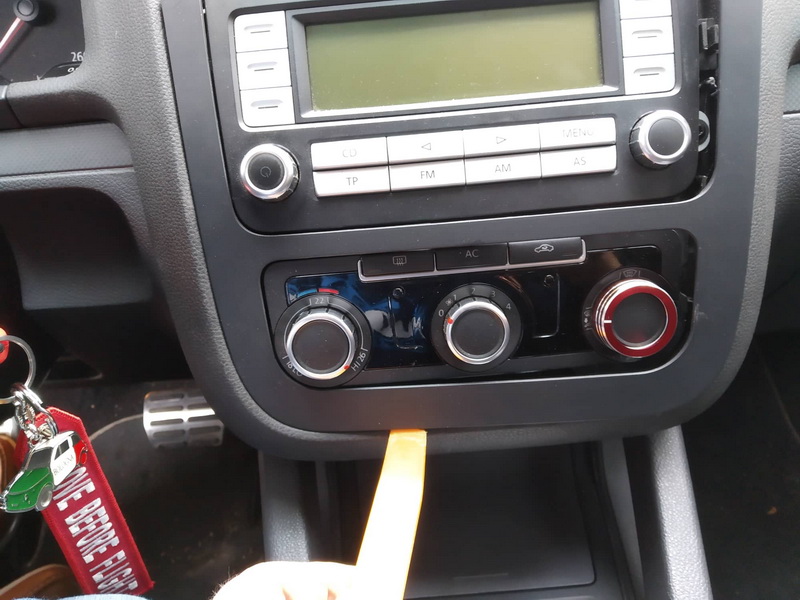
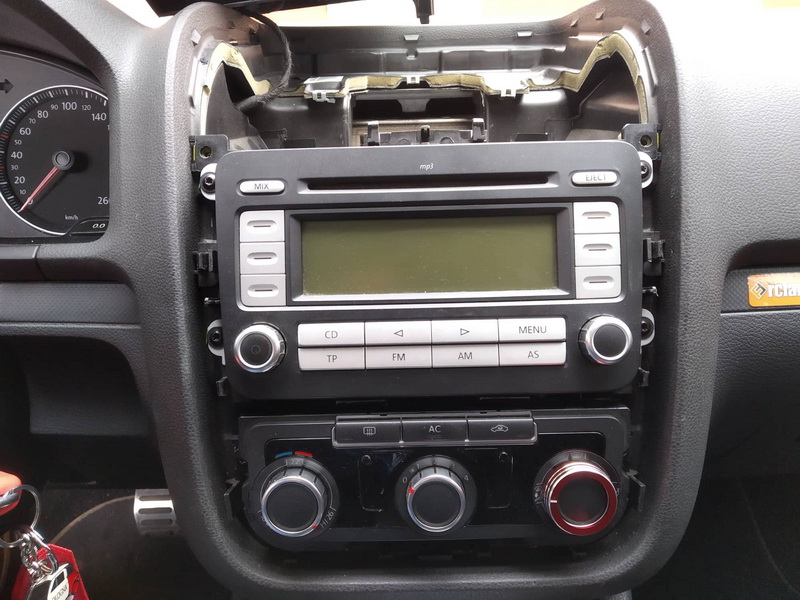
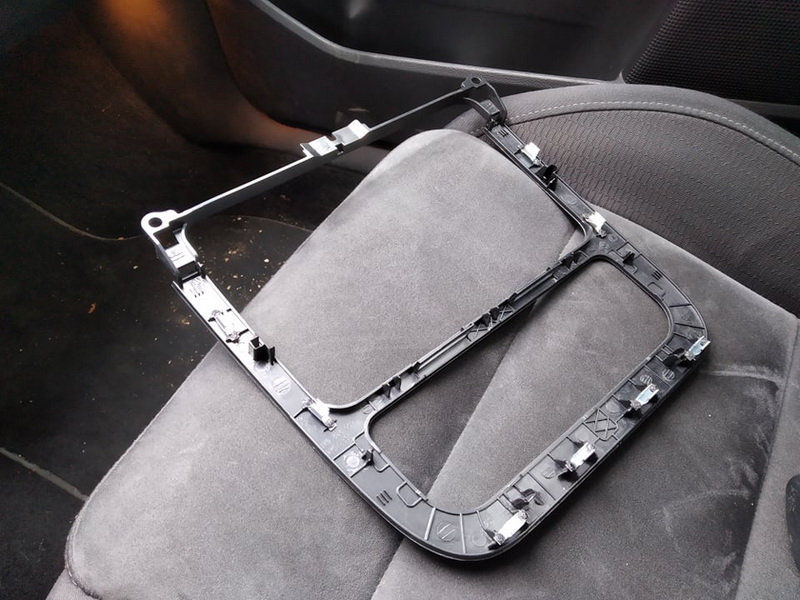
Remove the frame SORGELY and do not break any support!
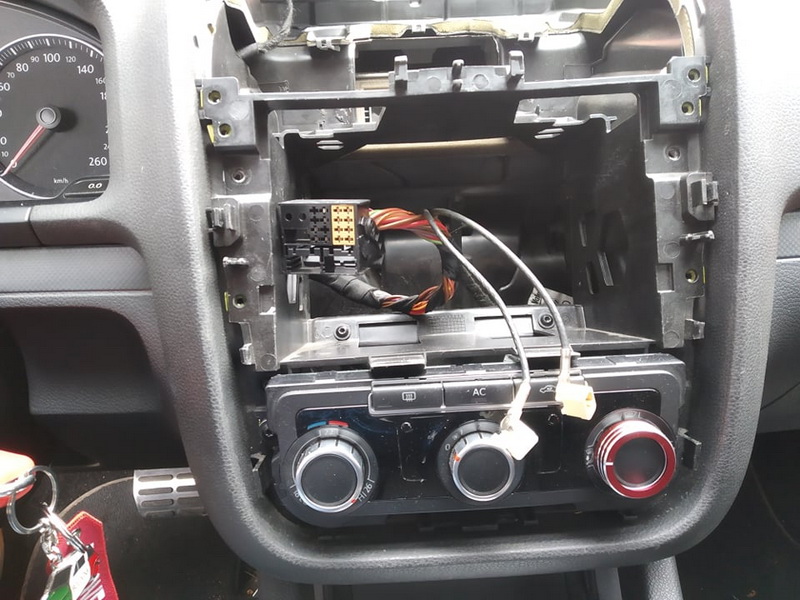
Removing the RCD300 is simple: We knock out the 2 antennas (AM / FM) and the big connector with the currents. End.
Then we click on the new screen:
Antenna FM (they do not fit in. They want a 5 euro adapter from China, they were running around, I do not hear it!)
GPS Antenna
WIFI antenna (remember, it’s an Android device, just like my cell phone!)
Streams
The extension of the USB, which I temporarily pushed to the side of the console, at the passenger’s feet. I will put some “USB” button as I had done in the previous Chinese!
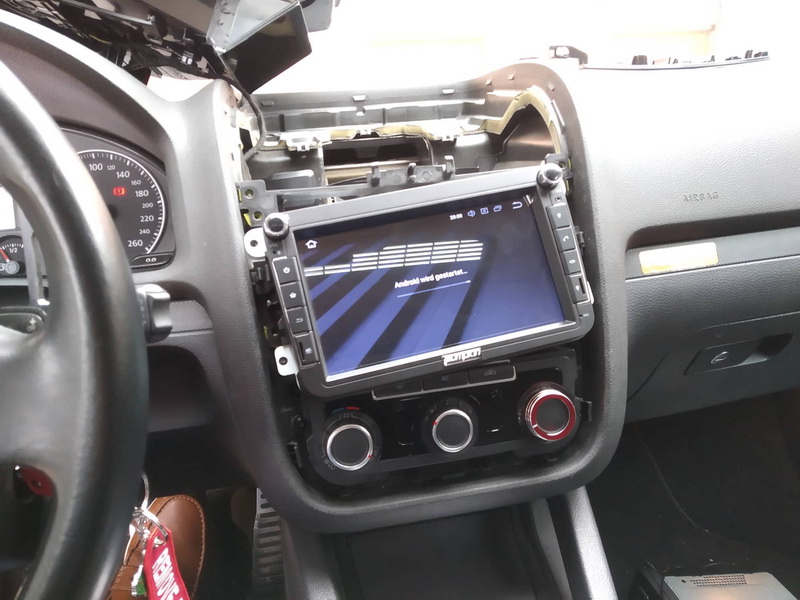
Test if it has power! I will not let it go wrong !!!!

The GPS and WiFi antennas I put them, GPS behind the car radio, beneath the PLASTIC air ducts, and supported it with a piece of double-sided tape and Wifi had a double-sided tape behind her, the I stuck back there, too, down the airways.
We close everything and move on a few lines. Has time … China and language … Germany. I changed both in Greek, of course!
to see a menu now!

Radio: It has 18 FM memories !!!!!!!

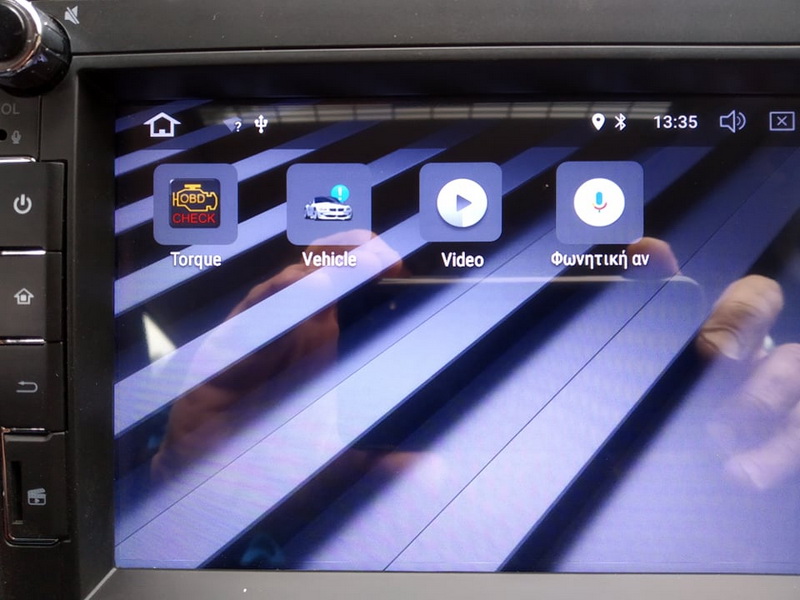
Has 42 apps says loaded!
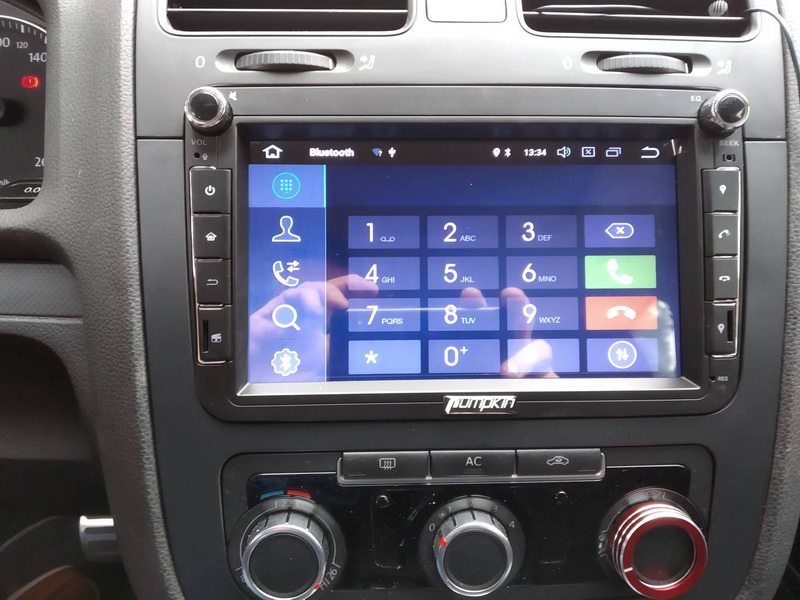
BT phone. It also takes a time-consuming synchronization, seeing contacts, etc … Another time!
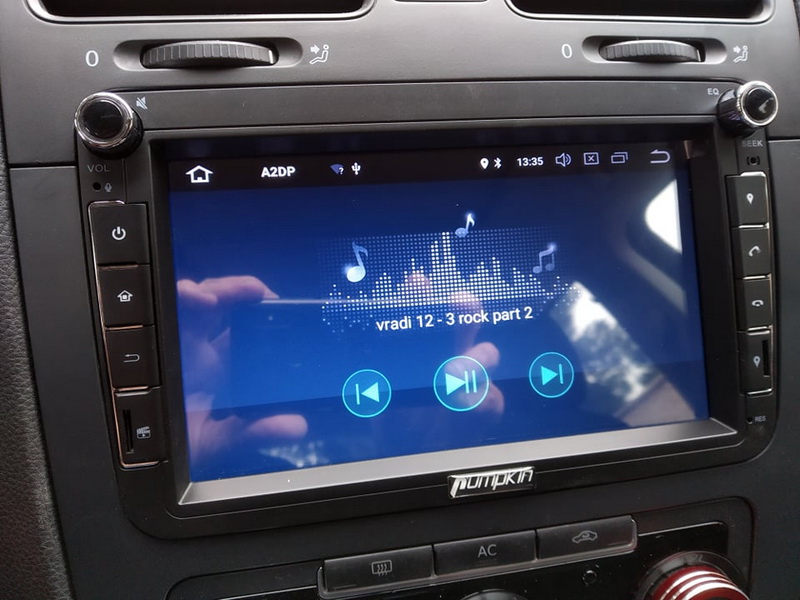
It also does streaming! And he shows what he’s playing !!!!
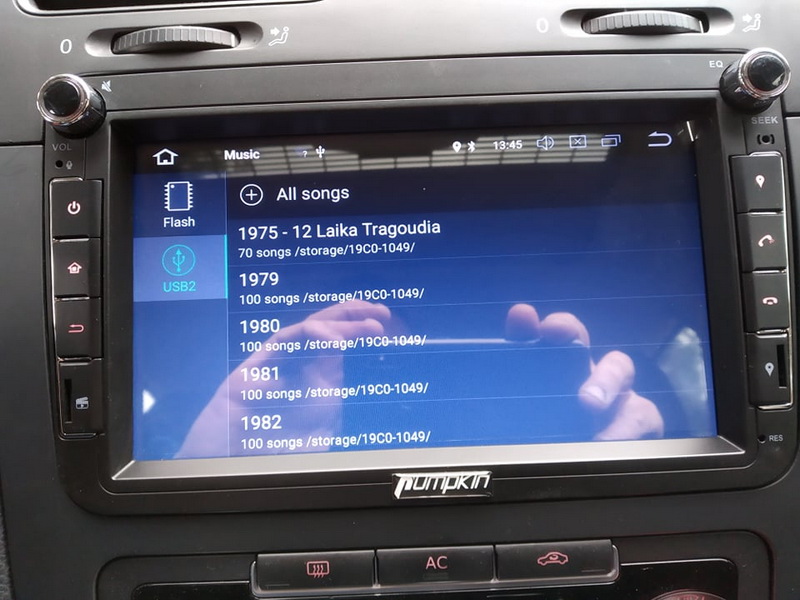
USB envelopes …
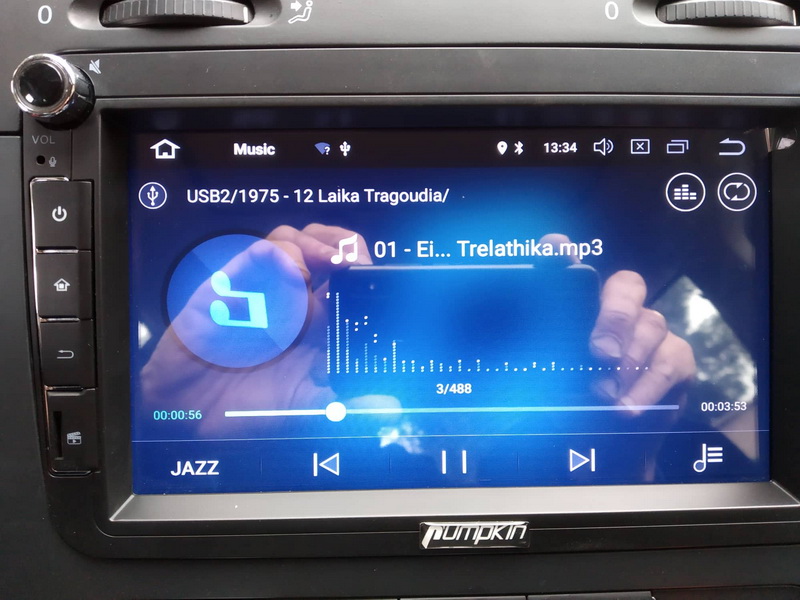
Playing from USB
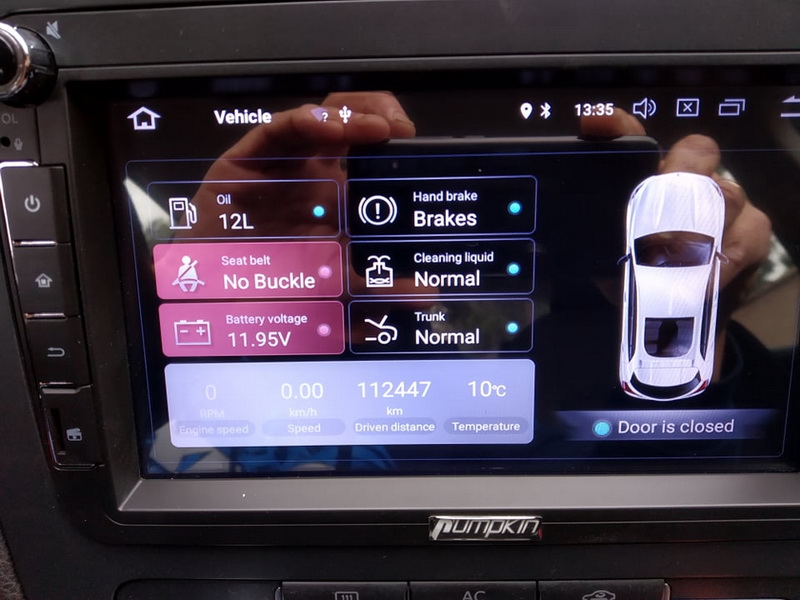
My petrol tank has another 12 liters … OIL! I have not put a belt (in the garage!) !!! The battery is out of 11.95! Good…
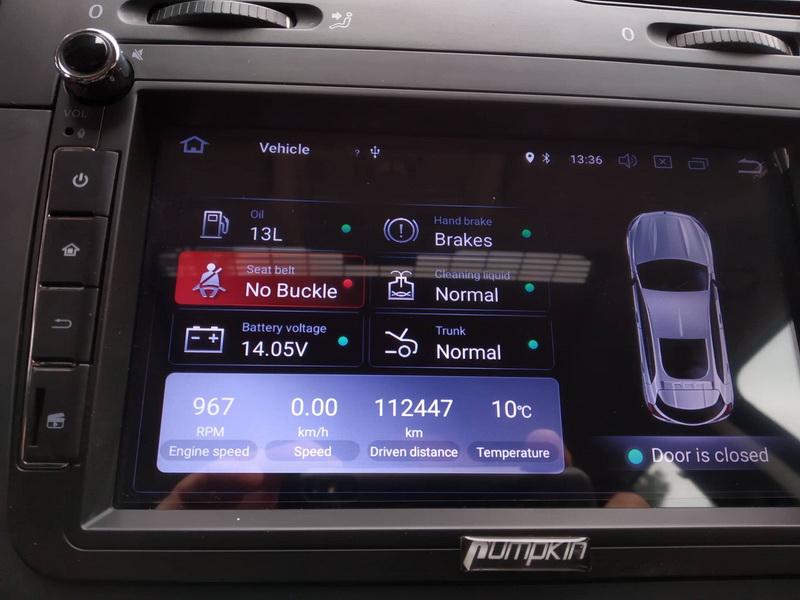
Revolution counter! Speed! splashes have water! Uh !!!!

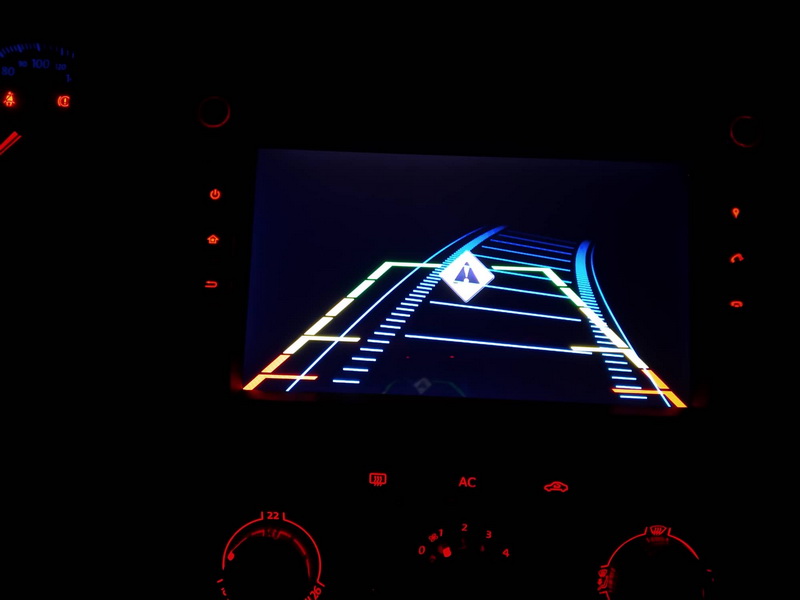
Putting backwards shows this. If we had a reversing camera, it would look behind the lines and see the camera (we ordered, wait!). At the same time, by turning the (electric) steering, it shows us where we will move …
Since it was in the garage, let’s download Google Maps offline, says … We have a good WiFi sign here! We said, android !!!

As long as maps were uploaded, let’s play with the colors! GREEN!!! wow!
And after…
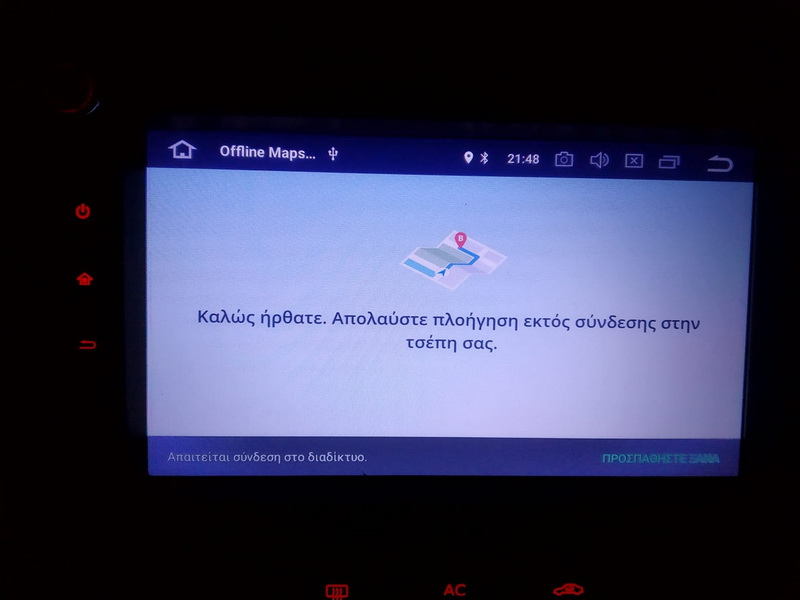
Walk in the neighborhood … as it was close to home all well. I just went to a kiosk and I quit … once I re-lit it, that !!!!!!
Because I am bored to deal with, I will see it … In the finale, if I need GPS I have TWO Garmin !!!!! (He wants a little study of how this is done!).
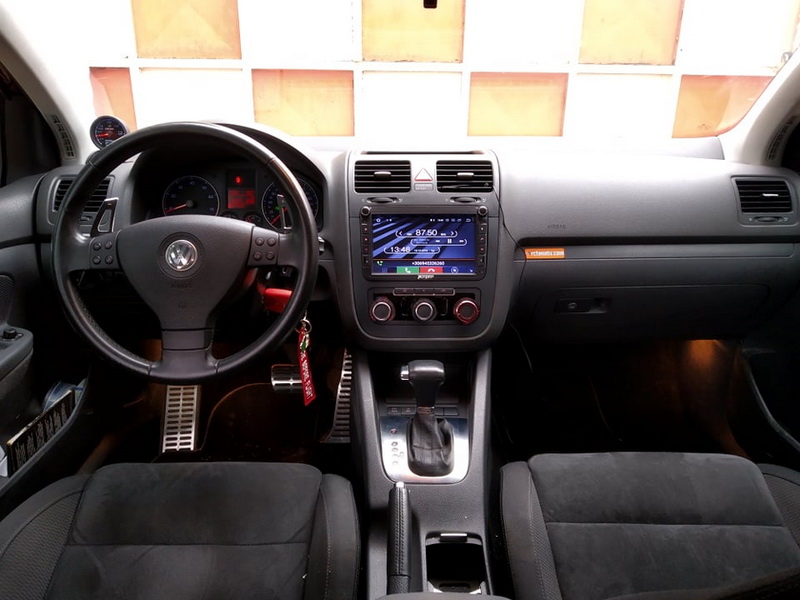
Anyway…
STEFMICOROCOOCCOUNCOSE!
In Conclusion from Pumpkin:
Great review! Detailed picture and text description!
Including how to install car radio and function display! Thanks very munch.
Welcome all customer post video review or blog review on Pumpkin car radio, we will show it in our website, including customer’s website.


