Tag Archives: android dvd player

image_pdfimage_print
24Jul/15

How to Troubleshoot Common Problems with a Double Din Navigation System

It's only fair to share...Share on FacebookShare on LinkedInPin on PinterestShare on RedditShare on TumblrShare on StumbleUponDigg thisShare on VK

9965af3d3099b3042ef011dd57f11b2a

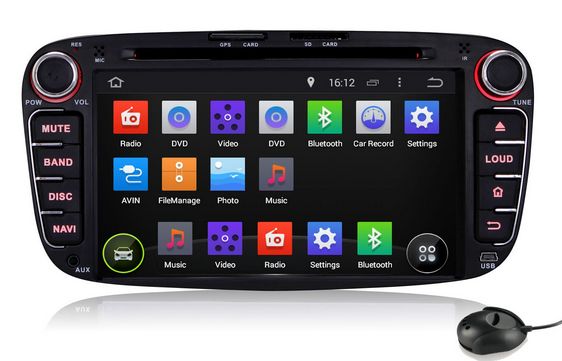
For the high GPS navigation technology, more and more people choose to install their own double din navigation systems. Inevitably, when you run the GPS navigation system, there may be some problems. Some issues need to be resolved by Professionals, but most of problems you can resolve yourself.

Steps

1.The GPS navigation unit doesn’t start up/ could not open the GPS navigation unit.
The key isn’t turned to ACC or IGNITION position.
—– Turn the vehicle key to ACC or IGNITION position.
The power cable has not been connected to the GPS navigation unit.
—– Connect the power cable to the GPS navigation unit.
Blown fuse behind the GPS navigation unit or in the radio system.
—– Replace the blown fuse with a fuse of the same amps.
Flat battery.
—– Replace or charge up the flat battery.
The remote controller is running out of battery power.
—– Change the remote control battery.

2.No sound output/could not hear voice/no voice.
Speaker wires are not connected to the GPS navigation unit.
—– Make sure that the speaker wires are properly connected to both the GPS navigation unit and the speakers.
The GPS navigation unit is on “Mute”.
—– Press “Mute” key or VOLUME (+/-) key.
The volume is excessively low.
—– Press VOLUME(+) key.
Front/Rear speaker; Left/Right speaker.
—– Press the remote control panel “OSD” or adjust the “Option” “Audio”.

3.Touch panel is not calibrated.
Press “calibration” to calibrate the monitor again.
—– “Menu”->”Option”->”System”->”calibration”

4.No response from the touch screen.
Possible that the system is still processing the previous task given to it.
—– If there’s still no response after a long period time, please contact the after-sale service department to have this issue looked at.

5.Can not play DVD.
Disc loaded inaccurately.
—– Please load the disc with the graphic side showing towards the windscreen.
Damaged disc.
—– Please clean the disc before reloading it again.
Disc does not play at all.
—– Please check the disc format before playing it.

6.No image from the reversing camera.
Reversing camera is installed, but it is not plugged into the Android car stereo.
—– Connect the reverse camera to the double din stereo, then press the “CDD” button on the remote controller, if it still does not work, please contact your local product distributor/reseller.

7.No GPS reception.
GPS antenna is not plugged in.
—– Plug in the GPS antenna.
No GPS reception in the current location.
—– Please contact your nearest product distributor/reseller for further assistance.

Source: Wikihow.com9965af3d3099b3042ef011dd57f11b2a
www.pdf24.org    Send article as PDF   
23Jul/15

How to Improve Ford Car Stereo Reception

It's only fair to share...Share on FacebookShare on LinkedInPin on PinterestShare on RedditShare on TumblrShare on StumbleUponDigg thisShare on VK

fd7d6e4b9bad79fec0f6fc2f6b5f5d1f

Sick of the annoying signal drops or interference when trying to listen to your Ford car stereo? Then check out these four ways to improve your car radio reception:

  • Check if the antenna mast is extended

If your car has an electric or manual retractable antenna mast, the first thing to check is whether it’s extended or not. This may sound like basic stuff, but it’s really common for manual antennas to be retracted and then left that way. Because there isn’t any mechanism to prevent these masts from being retracted, anyone can walk by and shove your antenna down. It’s very common for car wash attendants to push these in to keep them from breaking off in the wash, and if someone doesn’t remember to pull it back, it’s pretty easy to just drive away.

  • Check the antenna connections

If the antenna cable is poorly seated in your Android car stereo, or any of the connections are worn, loose or corroded, you’ll often find it difficult to tune into your favorite station.

So firstly, check the connection between the antenna cable and the back of your head unit. If that’s properly seated, then you may want to find a station you can tune into and then gently wiggle the antenna itself back and forth. You shouldn’t notice anything if the connection is solid. If the connection is loose, you’ll probably notice the tuner drop and then reacquire the signal. If that happens, you should tighten the antenna and check the grounds.

  • Install a signal booster

If you can receive a signal from a particular station, but it’s very weak, then you can install a signal booster to improve your reception. However, boosters won’t be helpful if the issue is related to obstructions like tall buildings and hills.

  • Buy a new antenna 

If you find the antenna mounting hardware or mast is rusted, corroded or broken, you need to replace the antenna. Corrosion and rust could prevent the antenna from making a good connection with your car head unit, so you can get better reception by replacing it.

Source: Cartech.about.com

www.pdf24.org    Send article as PDF   
22Jul/15

How to Disconnect the Mazda 3 Car Stereo Wiring Harness

It's only fair to share...Share on FacebookShare on LinkedInPin on PinterestShare on RedditShare on TumblrShare on StumbleUponDigg thisShare on VK

FD1771

A bad car stereo wiring harness can prevent your Mazda 3 car stereo from working. When this happens you either need to pay a mechanic to replace it, or you need to replace it yourself. The first step is to disconnect it. For the novice who knows little about a car’s wiring, this is a simple task that can easily be performed. Here’s how:

Things you’ll need:

  • Screwdriver
  • Flashlight

Step 1 – Remove Your Dash Console

To get a clear view of your car’s panel, how the stereo is installed in your car, and where you’ll find the wiring harness, remove the dash panel. Disconnect the stereo unit by removing any screws that connect the unit to your dash panel. Put the screws aside for use in replacing the stereo and panel. If the screws are stripped or corroded, replace them before continuing.

Step 2 – Disconnect the Wiring Harness

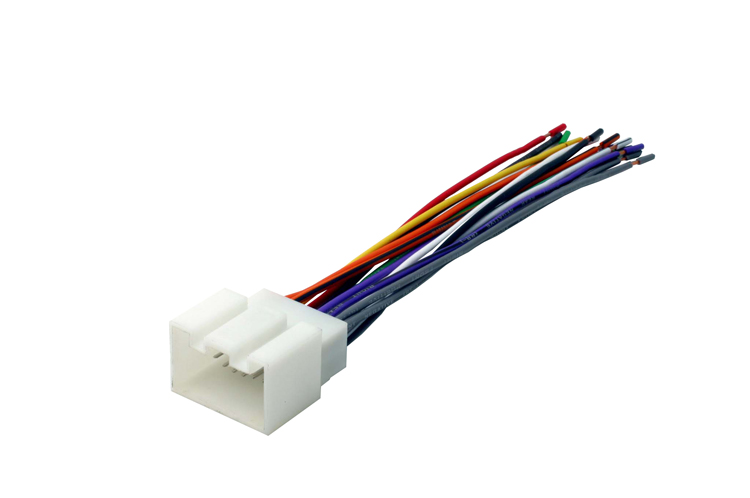
Pull the stereo unit out from your dash panel. On the back side of the unit you’ll see a number of wires connected. This is your wiring harness and will likely be clipped to the Android car stereo. Unplug the wires from the harness. Finally, identify the wires that are coming from your speakers and are connected to the harness and disconnect them by pulling them loose from the harness.

Source: Doityourself.com

www.pdf24.org    Send article as PDF   
image_pdfimage_print