Installing an LCD, or liquid crystal display monitor in your car can add a convenient method of visual entertainment, as well as practical functionality. The LCD monitor could be used for watching DVDs, playing video games, or for GPS navigation systems. It can be useful for long trips or just driving around town. To learn how to install an LCD monitor in your car, consider these suggestions.
Steps
![0]3](A@_CR@8B2PO6M7JJJ9](https://blog.autopumpkin.com/wp-content/uploads/2015/07/03A@_CR@8B2PO6M7JJJ9.png)
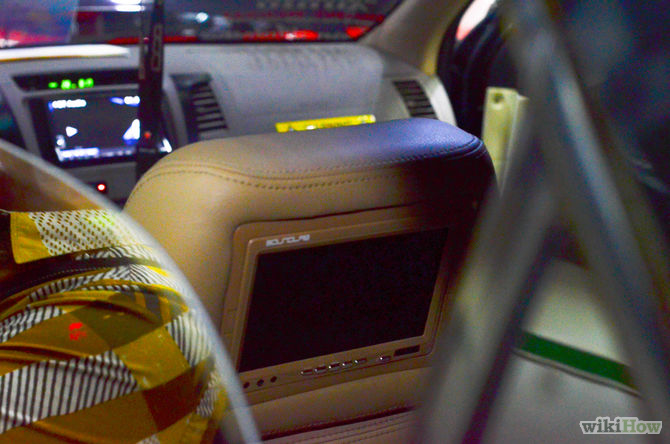
1.Determine the location for the monitor. When installing an LCD monitor in your car, determining its intended purpose will help you know exactly where it should be installed. If the video playback will be primarily for children, for example, a popular option is to locate the monitor on the back of the front seat headrests for back seat viewing.

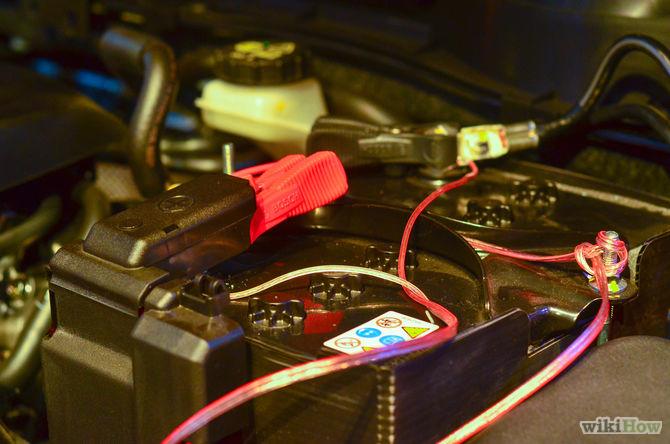
2.Disconnect the cables from the vehicle’s battery. Raise the hood and locate the vehicle’s battery. Verify the correct sized wrench or socket and remove the terminal attaching the battery cables to the battery. Disconnecting the battery will help ensure your safety, and protect the electronic components of your vehicle from short circuits.

3.Purchase new headrests with built-in LCD monitors from an electronics dealer. This is the easiest method of installing an LCD monitor for back seat viewers.
- Remove the old headrests by simply pulling them up from the seats.
- Insert the new headrests in the same place. Attach the wiring to the DVD or video game player and nearest power source.
Mounting LCD Monitors in the Vehicle Dashboard

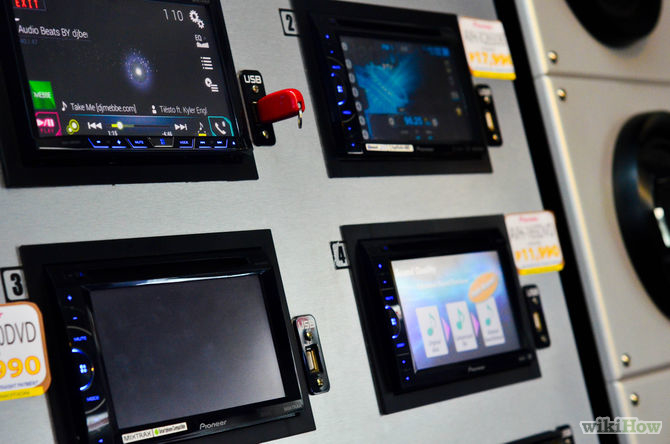
- Purchase an LCD monitor designed to retrofit the dashboard of your vehicle.This is the best option if the monitor is to be used by the driver and front seat passenger. Using standard tools, locate the screws or pins holding the face plate and any other cover from around the vehicle’s stereo receiver.
- Unplug the existing wiring harness from the receiver and remove the old unit. Plug in the new LCD monitor unit into the wiring harness and insert it into the dashboard.
- Reattach the face plate and other covers around the new unit. Take precaution not to strip mounting screws by over tightening.

2. Reattach the battery cables. Place the terminals back on the battery and tighten with correct sized wrench. Now that the power had been restored, turn the new LCD monitor on and adjust the settings according to the manufacturer’s instructions. Test all the functions of your new unit, including the video and audio.
Source: Wikihow.com
Related Posts
Differences between Single DIN and Double DIN Android Car StereoIf you want to buy an aftermarket Android 4.4 car stereo, you should base on your car’s year, make and model. Normally, aftermarket head units are rectangular and the standard car stereo size is referred to as single DIN. Most cars have single DIN stereo slots. The measurement of a standard single DIN slot is 50mm height by 178mm width. Most car radios will slide directly into the single DIN slot without requiring an additional adapter kit. However, some DIN models may require an installation kit. The second most common car stereo slot size is the double DIN. Double DIN slots are twice as tall as the standard single DIN slots, but they have the same width as single DIN stereos. We carry double DIN car stereos that slide directly into the double DIN slot. If you have the space, double DIN models are great because they usually feature LCD monitors for video playback and GPS navigation. Actually, the double DIN Android head units have become more popular: many vehicle manufacturers (especially of Asian cars) created a DIN CD player for use with a DIN cassette/radio unit. The main advantage to an aftermarket double DIN is that it’ll look better in the dash of a vehicle that uses a stock double DIN head unit. A larger head unit can have larger controls and a larger display, which making it easier to use. The best in-dash mobile video and navigation units are double DIN, because they don’t require a flip-out mechanism for the viewscreen. Regardless of classification (single DIN, double DIN, etc.), the stereo’s depth is unique for each model. The installation may require some customization if your vehicle has a relatively shallow cavity. Though you may wish to perform custom installs, it’s always wisest to choose a model that will fit your car perfectly. Check out our website to find out what will exactly fit your vehicle. This will save you a lot of time, money and hassle when it comes time to install your car stereo.
How to Install an Android Car StereoFirst, turn off the electricity to the machine by removing the live battery wire from its station. After disconnecting the battery, you’ll need to take off the trim boards enveloping your car stereo. Each car just a tiny bit unique here. Next, you need to dispatch the previous head unit directly out until the wires connected to the back are accessible. Unplug the cord, discharge the cabling harness and proceed to remove the antenna cable by unscrewing it. The cabling harness is the structural fastener that integrates all of the cabling for the sound system into an individual connection. The new head unit you have purchased should have included an adapter that matched the factory installed cabling. The end of the cabling on the end, should have four to eight colored wires coming from the back. There should be two such wires that plug to each speaker; one positive one negative. Most negatives are shown with a black stripe while positives are generally either solids or have a white stripe. If your new car DVD player does not come with an adapter that works with the harness in the dash, you need to purchase a cabling harness kit. The new harness will have to be plugged into the new stereo. Match the colored wire to its match and put them together. After having the wires connected to their proper match, the stereo should be ready to install. Hold the system to the dash to plug the proper connections into the back. You can pause and test what you have done to make sure you have correctly pared the wires. Once you find that everything is in order; proceed to carefully push the unit all the way into the dash and replace the screws. After the stereo is mounted correctly, put the trim boards back up and reattach everything holding them in place. Finally, you got a new Android stereo for your car.
A guide to Android Car Stereo Wiring HarnessesBy Dave Delamere Getting a handle on all those wires While they can look like some sort of multicolor pasta dish, wiring harnesses help you connect your new Android car stereo to your vehicle's wiring. In this article, we'll explain the different types of harnesses and adapters and how they're helpful when installing your new car stereo. Car stereo wiring harnesses Each vehicle has a different wiring story. Sometimes you have a choice of harnesses that will work in your car. Other times, you might need more than one harness to complete the installation. The basic wiring harness These represent the most common type of wiring harnesses. They offer connections for the power and speaker wires. They can also include connections for the new stereo's ground and illumination wires. Using the wiring code the adapter manufacturer supplies, these harnesses enable you to match up the wires for each connection to the new stereo's wiring harness. Once that's done, you plug the other end of the harness into your car's wiring connector (the one that was plugged into the factory radio). Specialized wiring harnesses Vehicle audio systems, electrical systems, and convenience features have come a long way. So, the harnesses had to evolve to handle the complex wiring and data information that modern cars use. Connections at a distant location…


![0]3](A@_CR@8B2PO6M7JJJ9](https://blog.autopumpkin.com/wp-content/uploads/2015/07/03A@_CR@8B2PO6M7JJJ9.png)

