Category Archives: How to

image_pdfimage_print
22Jul/15

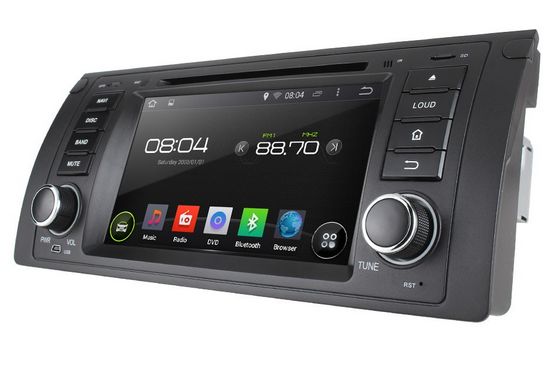
How to Disconnect the Mazda 3 Car Stereo Wiring Harness

It's only fair to share...Share on FacebookShare on LinkedInPin on PinterestShare on RedditShare on TumblrShare on StumbleUponDigg thisShare on VK

FD1771

A bad car stereo wiring harness can prevent your Mazda 3 car stereo from working. When this happens you either need to pay a mechanic to replace it, or you need to replace it yourself. The first step is to disconnect it. For the novice who knows little about a car’s wiring, this is a simple task that can easily be performed. Here’s how:

Things you’ll need:

  • Screwdriver
  • Flashlight

Step 1 – Remove Your Dash Console

To get a clear view of your car’s panel, how the stereo is installed in your car, and where you’ll find the wiring harness, remove the dash panel. Disconnect the stereo unit by removing any screws that connect the unit to your dash panel. Put the screws aside for use in replacing the stereo and panel. If the screws are stripped or corroded, replace them before continuing.

Step 2 – Disconnect the Wiring Harness

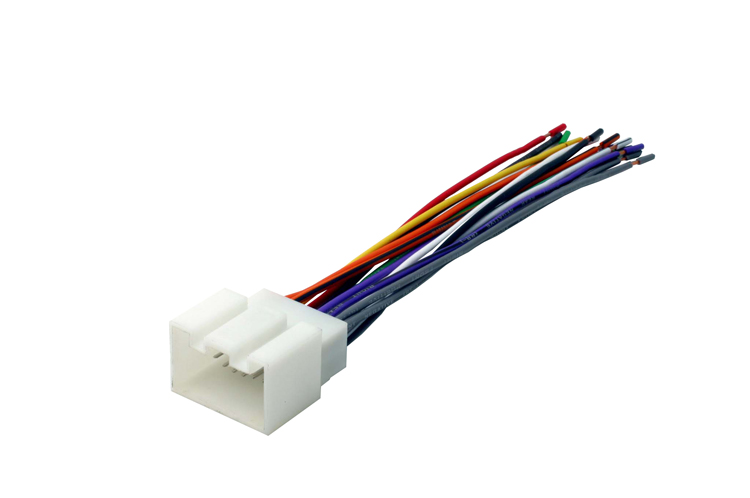
Pull the stereo unit out from your dash panel. On the back side of the unit you’ll see a number of wires connected. This is your wiring harness and will likely be clipped to the Android car stereo. Unplug the wires from the harness. Finally, identify the wires that are coming from your speakers and are connected to the harness and disconnect them by pulling them loose from the harness.

Source: Doityourself.com

www.pdf24.org    Send article as PDF   
20Jul/15

How to Connect Speaker Wires to the BMW Head Unit

It's only fair to share...Share on FacebookShare on LinkedInPin on PinterestShare on RedditShare on TumblrShare on StumbleUponDigg thisShare on VK

Car stereos and receivers, also known as head units, are built with four channels of output for powering two front and two rear car speakers. When installing an Android car stereo for BMW, it’s necessary to connect the car’s speaker wires to the head unit with some simple tools and connectors.

d10a83410dac92f666c4c654df887310

Things You’ll Need

  • Wire strippers
  • Crimp tool
  • Butt connectors

Instruction

  1. Use a wire stripper to remove 1/2 inch of insulation from the ends of each of the BMW head unit‘s speaker wires and from the ends of the wires leading to your car speakers.
  2. Match the output wires of the head unit to the speaker wires they’ll be driving. Head units follow a set pattern of color coding across all brands — the front left speaker is powered by the white and white/black wire, front right by gray and gray/black, rear left by green and green/black, and rear right by violet and violet/black. Car speaker wiring varies by model and brand of car. If in doubt, look up the speaker-wire codes in a service manual, such as a Chilton’s Auto Repair Manual, available at auto-parts stores, bookstores and online.
  3. Slide the bare end of a head-unit wire into one end of a butt connector. Slide the matching car speaker wire into the other end. The butt connector is a common wire-crimping connector that resembles a small, hollow plastic-covered tube open on each end. Place the jaws of a crimp tool in the center of the connector and squeeze the handles of the tool to make the connection. Repeat for all the wires.

Source: Ehow.com

www.pdf24.org    Send article as PDF   
07Jul/15

How to Bench Test the VW Radio

It's only fair to share...Share on FacebookShare on LinkedInPin on PinterestShare on RedditShare on TumblrShare on StumbleUponDigg thisShare on VK

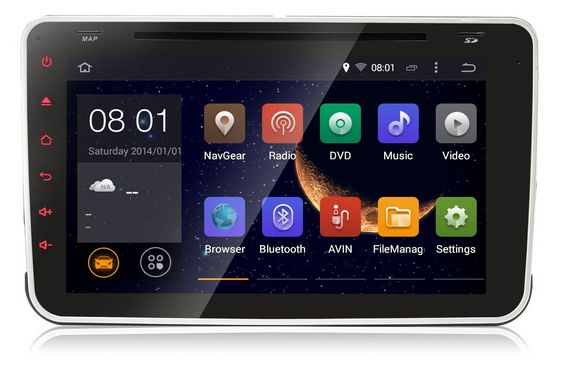
You should bench-test your VW radio before it is installed, especially if it is a used unit. This will save you from trying to troubleshoot it after it is installed in the cramped quarter of the vehicle’s dash. Bench-testing the VW radio is a straightforward process as speaker wiring is paired into colors that are standard across the industry. You can quickly bench-test the VW head unit with a few test leads, a spare speaker and a power source.

3f15f8f1456f20335051b15e819bc447

Things You’ll Need

  • Roll of 12-gauge electrical wire
  • Eight alligator clips
  • Electrical pliers
  • Audio test speaker
  • Antenna with connector
  • 12-volt car battery

Instructions
1.Cut four, 2-foot jumper wires from the roll of electrical wire. Strip a half-inch of insulation from the ends of each wire with the electrical pliers.
2.Set the Android car stereo down, with the display facing you. Locate the four pairs of speaker wires: two white, left-front; two grey, right-front; two green, left-rear; two violet, right-rear. The solid-colored wires are positive; striped are negative.
3.Attach the end of one jumper wire to the positive wire of the test speaker with an alligator clip. Connect the other end of the jumper to the positive wire of the grey pair. Repeat with second jumper wire for the negative speaker wire.
4.Insert the antenna lead into the antenna socket on the stereo.
5.Attach one end of a third wire to the positive terminal of the battery with an alligator clip. Clip the other end of the wire to the red, yellow and orange wires coming from the stereo. Attach the fourth jumper wire to the stereo’s back grounding wire, and the other end to the battery’s negative terminal.
6.Turn on the stereo. Check the display for power. Adjust the volume control and left-right and front-rear fade controls while listening for the volume to fade in and out accordingly.
7.Turn the stereo off and move the jumper wires to the next pair or wires. Repeat for each pair of colored wires.


Source: Ehow.com

www.pdf24.org    Send article as PDF   
image_pdfimage_print