Tag Archives: double din dvd player

image_pdfimage_print
24Jul/15

How to Troubleshoot Common Problems with a Double Din Navigation System

It's only fair to share...Share on FacebookShare on LinkedInPin on PinterestShare on RedditShare on TumblrShare on StumbleUponDigg thisShare on VK

9965af3d3099b3042ef011dd57f11b2a

For the high GPS navigation technology, more and more people choose to install their own double din navigation systems. Inevitably, when you run the GPS navigation system, there may be some problems. Some issues need to be resolved by Professionals, but most of problems you can resolve yourself.

Steps

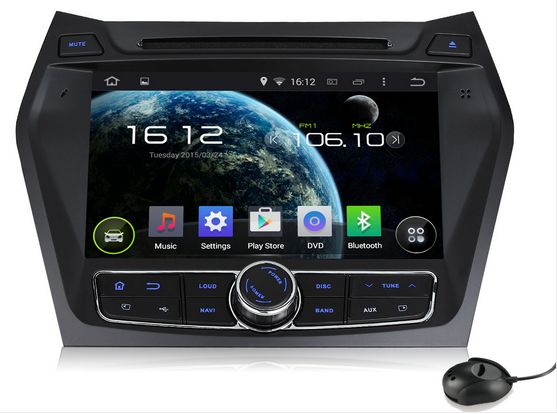
1.The GPS navigation unit doesn’t start up/ could not open the GPS navigation unit.
The key isn’t turned to ACC or IGNITION position.
—– Turn the vehicle key to ACC or IGNITION position.
The power cable has not been connected to the GPS navigation unit.
—– Connect the power cable to the GPS navigation unit.
Blown fuse behind the GPS navigation unit or in the radio system.
—– Replace the blown fuse with a fuse of the same amps.
Flat battery.
—– Replace or charge up the flat battery.
The remote controller is running out of battery power.
—– Change the remote control battery.

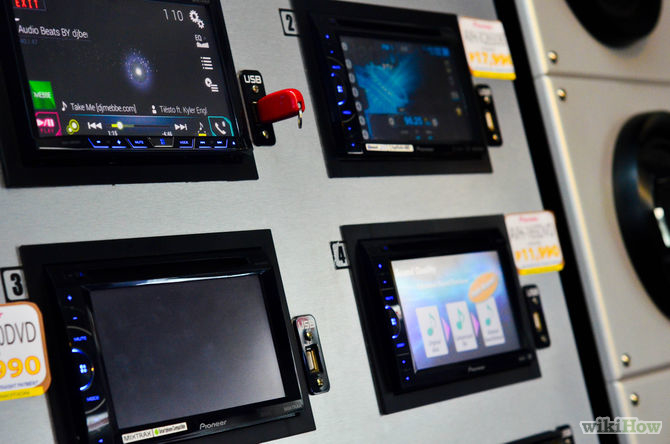
2.No sound output/could not hear voice/no voice.
Speaker wires are not connected to the GPS navigation unit.
—– Make sure that the speaker wires are properly connected to both the GPS navigation unit and the speakers.
The GPS navigation unit is on “Mute”.
—– Press “Mute” key or VOLUME (+/-) key.
The volume is excessively low.
—– Press VOLUME(+) key.
Front/Rear speaker; Left/Right speaker.
—– Press the remote control panel “OSD” or adjust the “Option” “Audio”.

3.Touch panel is not calibrated.
Press “calibration” to calibrate the monitor again.
—– “Menu”->”Option”->”System”->”calibration”

4.No response from the touch screen.
Possible that the system is still processing the previous task given to it.
—– If there’s still no response after a long period time, please contact the after-sale service department to have this issue looked at.

5.Can not play DVD.
Disc loaded inaccurately.
—– Please load the disc with the graphic side showing towards the windscreen.
Damaged disc.
—– Please clean the disc before reloading it again.
Disc does not play at all.
—– Please check the disc format before playing it.

6.No image from the reversing camera.
Reversing camera is installed, but it is not plugged into the Android car stereo.
—– Connect the reverse camera to the double din stereo, then press the “CDD” button on the remote controller, if it still does not work, please contact your local product distributor/reseller.

7.No GPS reception.
GPS antenna is not plugged in.
—– Plug in the GPS antenna.
No GPS reception in the current location.
—– Please contact your nearest product distributor/reseller for further assistance.

Source: Wikihow.com9965af3d3099b3042ef011dd57f11b2a

www.pdf24.org    Send article as PDF   
06Jul/15

How to Install an LCD Monitor in Your Car

It's only fair to share...Share on FacebookShare on LinkedInPin on PinterestShare on RedditShare on TumblrShare on StumbleUponDigg thisShare on VK

Installing an LCD, or liquid crystal display monitor in your car can add a convenient method of visual entertainment, as well as practical functionality. The LCD monitor could be used for watching DVDs, playing video games, or for GPS navigation systems. It can be useful for long trips or just driving around town. To learn how to install an LCD monitor in your car, consider these suggestions.

Steps

0]3](A@_CR@8B2PO6M7JJJ9

1.Determine the location for the monitor. When installing an LCD monitor in your car, determining its intended purpose will help you know exactly where it should be installed. If the video playback will be primarily for children, for example, a popular option is to locate the monitor on the back of the front seat headrests for back seat viewing.

670px-Install-an-LCD-Monitor-in-Your-Car-Step-2
2.Disconnect the cables from the vehicle’s battery. Raise the hood and locate the vehicle’s battery. Verify the correct sized wrench or socket and remove the terminal attaching the battery cables to the battery. Disconnecting the battery will help ensure your safety, and protect the electronic components of your vehicle from short circuits.

670px-Install-an-LCD-Monitor-in-Your-Car-Step-3
3.Purchase new headrests with built-in LCD monitors from an electronics dealer. This is the easiest method of installing an LCD monitor for back seat viewers.

  • Remove the old headrests by simply pulling them up from the seats.
  • Insert the new headrests in the same place. Attach the wiring to the DVD or video game player and nearest power source.

Mounting LCD Monitors in the Vehicle Dashboard

670px-Install-an-LCD-Monitor-in-Your-Car-Step-4

  1. Purchase an LCD monitor designed to retrofit the dashboard of your vehicle.This is the best option if the monitor is to be used by the driver and front seat passenger. Using standard tools, locate the screws or pins holding the face plate and any other cover from around the vehicle’s stereo receiver.
  • Unplug the existing wiring harness from the receiver and remove the old unit. Plug in the new LCD monitor unit into the wiring harness and insert it into the dashboard.
  • Reattach the face plate and other covers around the new unit. Take precaution not to strip mounting screws by over tightening.

670px-Install-an-LCD-Monitor-in-Your-Car-Step-5

2.  Reattach the battery cables. Place the terminals back on the battery and tighten with correct sized wrench. Now that the power had been restored, turn the new LCD monitor on and adjust the settings according to the manufacturer’s instructions. Test all the functions of your new unit, including the video and audio.

Source:  Wikihow.com

www.pdf24.org    Send article as PDF   
03Jul/15

How to Install a Rear View Camera in Your Car

It's only fair to share...Share on FacebookShare on LinkedInPin on PinterestShare on RedditShare on TumblrShare on StumbleUponDigg thisShare on VK

Installing a rear -view camera in your car can help prevent mishaps when you’re backing up your vehicle. This device is especially helpful if you’re backing up larger vehicles such as trucks and RVs, because it allows you to view people and items behind your vehicle that cannot be easily seen. Learn how to install a rear-view camera in your car to help you see behind you and prevent potentially damaging accidents.

Steps:

670px-Find-Appropriate-Pictures-using-the-Internet-Step-3

1. Research and purchase the type of rear-view camera installation system that is best for your car. If you are unsure of what type would be best, you can ask for advice at a local auto repair shop.

670px-Install-a-Rear-View-Camera-in-Your-Car-Step-2
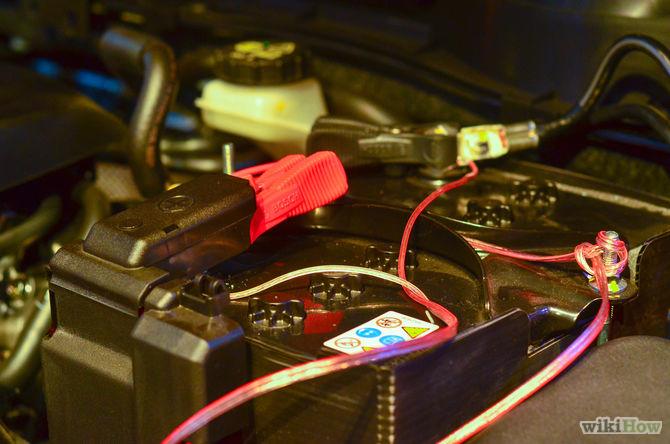
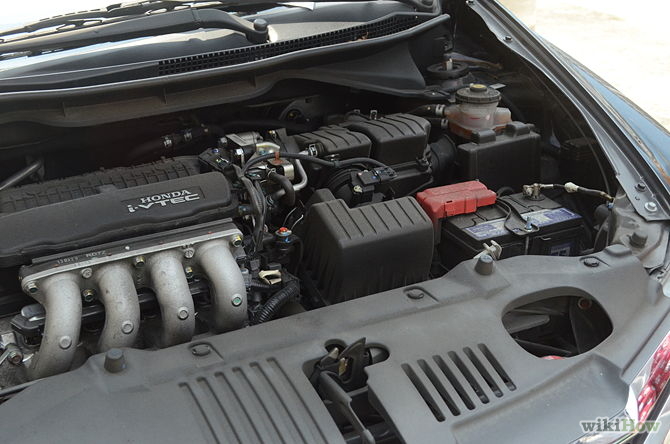
2. Disconnect the vehicle’s battery by pulling off the negative cable.Wire the camera to the battery according to the instructions provided with your kit. The battery acts as the camera’s power source

11401541_10153341227859356_7639310870837038133_n

3. Install your rear-view camera monitor. There are several possible locations to install the monitor. The most common locations are on the dashboard or sun visor. The monitor will allow you to view anything behind your car before you back out, so it should be placed in a location that is convenient when driving.

670px-Install-a-Rear-View-Camera-in-Your-Car-Step-4

4. Use a drill to install the camera.Mount the camera on the bumper, license plate, or other location at the rear of the vehicle. The kit will include all the necessary mounting hardware. Attach the camera’s power wire to the back-up light power wire on your car. If you purchased a wireless camera, you do not need to wire the camera. Reconnect the car battery.

670px-Install-a-Rear-View-Camera-in-Your-Car-Step-5
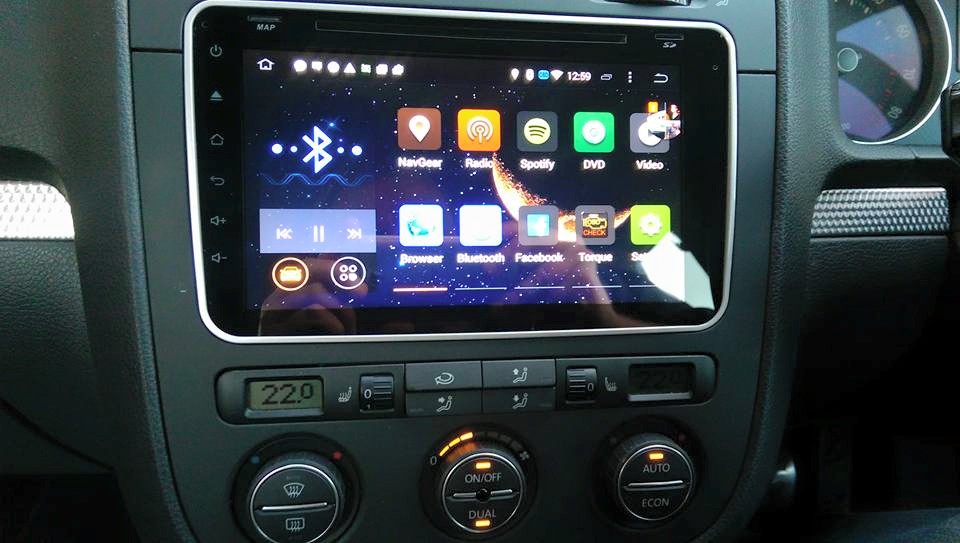
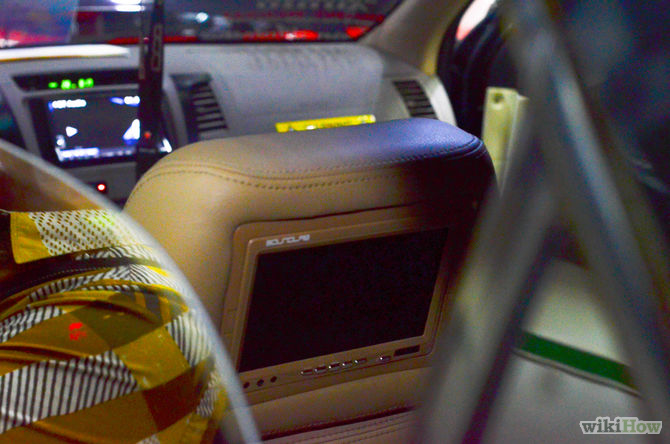
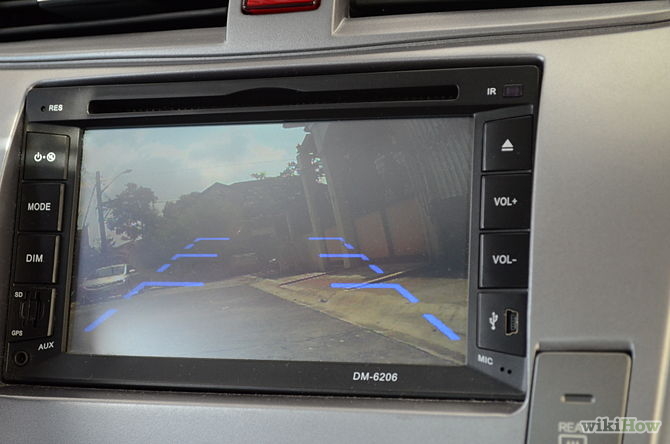
5. Test the camera before attempting to drive with it.Make sure you can clearly see what is behind the car. Turn on the camera and monitor, place an immovable object behind the car, put the car in reverse but keep your foot on the brake, and verify that you can see the object in the monitor.

Tips:

  • Many rear-view cameras are designed to only work when you have the car in reverse. The manufacturer may provide instructions on how to rewire it to work anytime the car is turned on.
  • Before you permanently mount the monitor, try different locations to make sure it stays put and that you are happy with where it is located. Most kits come with double-sided tape, screws, and other mounting hardware.
  • You can mount the camera on the car’s plastic bumper if you want to avoid drilling into your car’s sheet metal.

Source: wikihow.com

For more Android car stereos, please visit autopumpkin.com

www.pdf24.org    Send article as PDF   
image_pdfimage_print