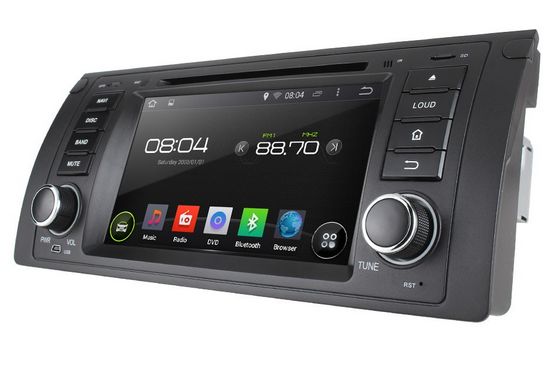
More and more BMW X5 E53 owners prefer to upgrading the factory car stereo with an aftermarket one which has DVD player and GPS navigation system built-in,such as Pumpkin Android BMW navigation dvd,wince 6.0 BMW navigation car dvd. And some of these people would like to install the new replacement by themselves, but there may be some problems during installation if you have never installed an aftermarket car gps dvd palyer before. We write this post to introduce you some tips on installation of Pumpkin android 5.1 BMW Car Navigation GPS DVD Player.
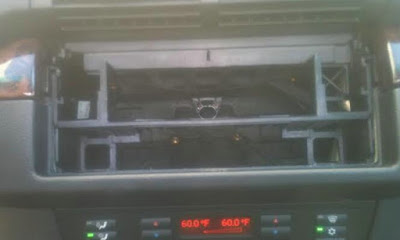
If your BMW X5 e53 just comes with factory car radio and CD player in dash, there’s a plastic cage inside of the dashboard as you can see after you take out the factory radio and CD, if you don’t remove this cage, you may think it does not fit into the opening of the original entry, the new BMW navigation dvd unit can not be pushed entirely into the dashboard, see pics below:
Don’t worry, there are two methods which can allow you to push the new BMW X5 navigation car dvd into the dashboard fully. Some installers just cut the plastic cage, and others remove it.
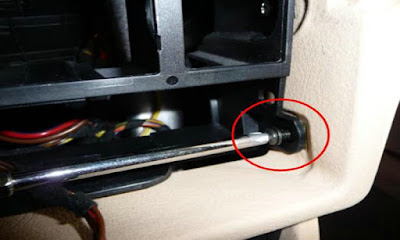
In order to remove the plastic cage, firstly take off the 4 screws that hold the cage in place, 2 on the right side, and 2 on the left side (same as right side). The following pictures are for your reference:
You need to pull down and slightly left the dash part which is close to the steering wheel. When you are doing this, use your other hand to push down in the middle of the opening where the cage is, and as you opened/pulled the dash/trim this far, you are able to hold it with one hand in this position and start wiggling the cage with your other hand. When are doing this, some force is necessary, but not too much. Once you start playing with it, you will get the jest on how to pull out the hooks, then as you have the left hook out, you now pull to a side and down on the right side (glove compartment side) to clear the other hook.
Once you removed the plastic cage, you are able to push into the new unit into the dash fully. And you will need to use the included iron frame support to fix the new unit to the dash, you may check the following photo as referrence.
If your BMW X5 E53 comes with factory navigation system, there’s a large screen in the dash, the 17pins(before year 2002) or 40pins(after year 2002) plug is not at the back of your factory radio, it’s located under the trunk, so you need to use a 5m long power cable with 17pins or 40pins plug to connect the correct plug under the trunk.


