You want to make travel time more enjoyable for you and your little ones, so you decided on an entertainment system. Deciding to install an overhead DVD system can be rewarding in the long run, but complex in the beginning. A novice can complete this type of project, but some experience in this subject will make the process go more quickly. Either way you will save installation cost. You may also be able to seek installation support through the company you purchased the system from. Take your time and it will pay off on those long family travel trips.
Decide where you want to place the overhead DVD system. Determine the best position for everyone in the rear to easily see the DVD screen. You may need to remove your dome light.
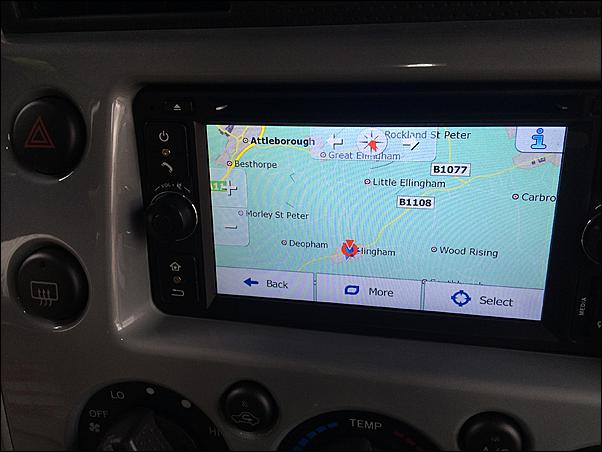
Outline the bracket that came with the 2 Din Android Car DVD GPS on the headliner of your vehicle where you decided to place the overhead DVD player. Makes sure the outline is centered from both sides of the vehicle.
Partially drop the headliner of the vehicle. Only one side of the headliner needs to be dropped just enough to bring the wires through. Unscrew the driver’s side or the passenger side sun visor that the fuse box is located on. Disconnect the vanity light by gently pulling the connectors. Pry off the upper and lower pillar trim panel on the same side from which you removed the sun visor with the flathead screwdriver. You may need to remove the seat belt if it is attached to the upper pillar. The seat belt is usually secured with a head or Torx bolt. Remove any screws and retaining clips. Unscrew the kick panel over the fuse box and place the panel to the side.
Cut out the outline on the headliner. Ensure that a support beam runs across the area where you intend to mount the overhead DVD player. If there is no beam, you will need to glue the wood rail to the roof of the vehicle.
Use the bracket to mark at least four drill holes on the wood or support beam. Make sure to drill the holes centered on the beam.
Run the wires that came with the overhead DVD player through the headliner. Leave enough slack to connect to the DVD player. Follow the instructions and use the hardware that came with the overhead DVD player. Some units will requires you to connect all wiring to the DVD player before mounting. You will hide the wires behind the panels you removed.
Mount the bracket carefully using the short screws that came with the overhead DVD player. Connect the dome wires to the appropriate wires as described in the instructions that came with the overhead DVD player.
Connect the power and audio wires as detailed in the manufacturer’s instructions. All wires must be connected to a 12-volt source except the black one. It must be grounded. You can use any screw to ground the black wire. Use the wire crimper to cut the wires and use the electrical tape to secure wire connections. Place the FM modulator under the seat nearest to where you took off the panels.
Run the audio cable to the FM modulator. Set the modulator at one of the radio signals stated on the modulator. Securely place the wires loosely where the panels will be replaced. Secure all panels, seat belt and headliner back into place.
Tips & Warnings
Do not over tighten the car android dvd player. It could cause the screen to warp.
Installation can take up to four hours or more.